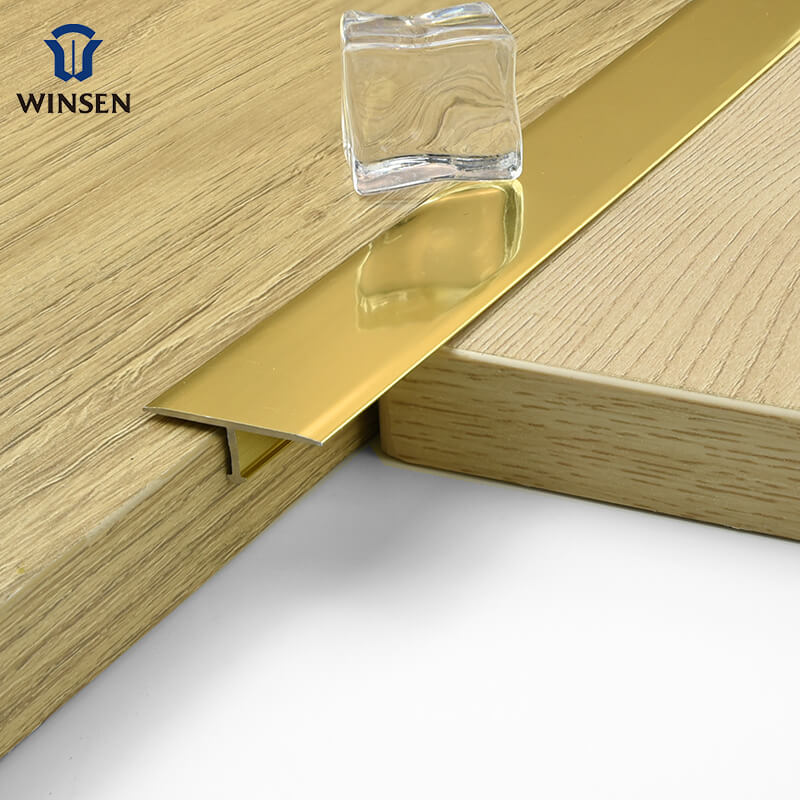
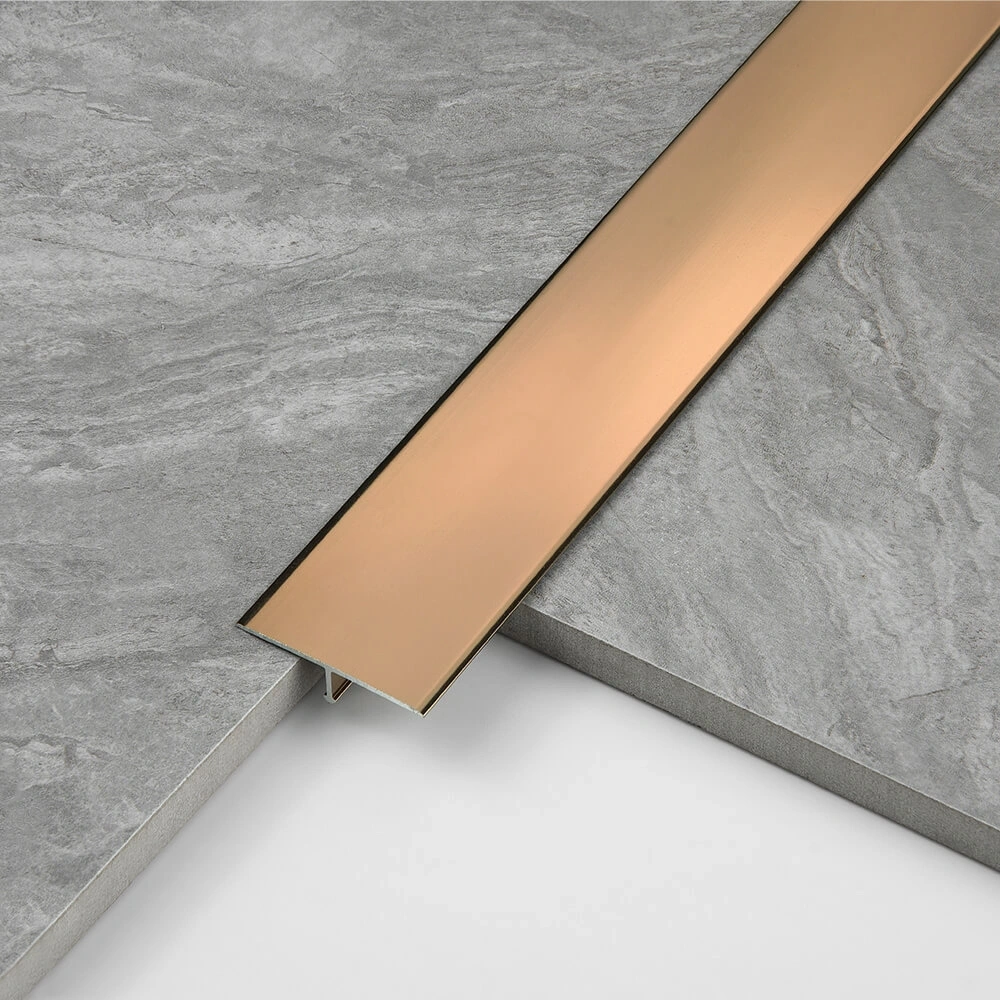
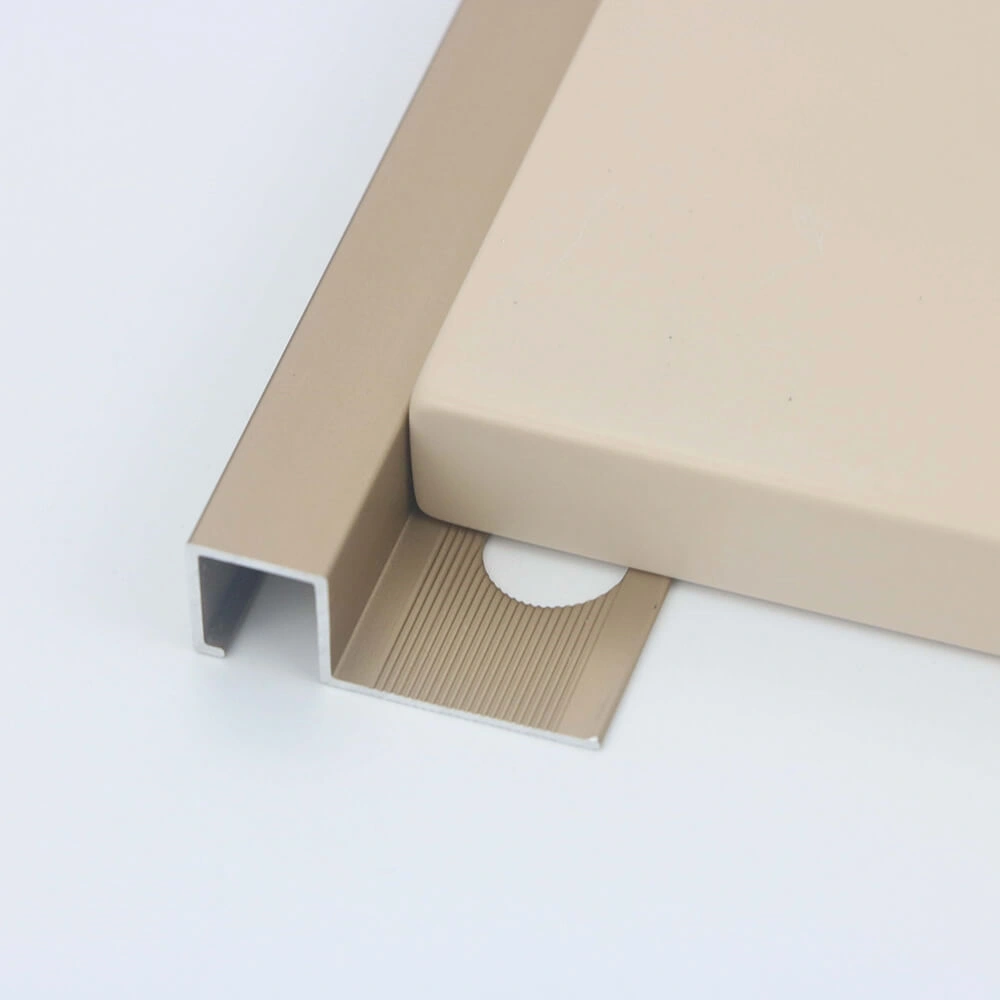
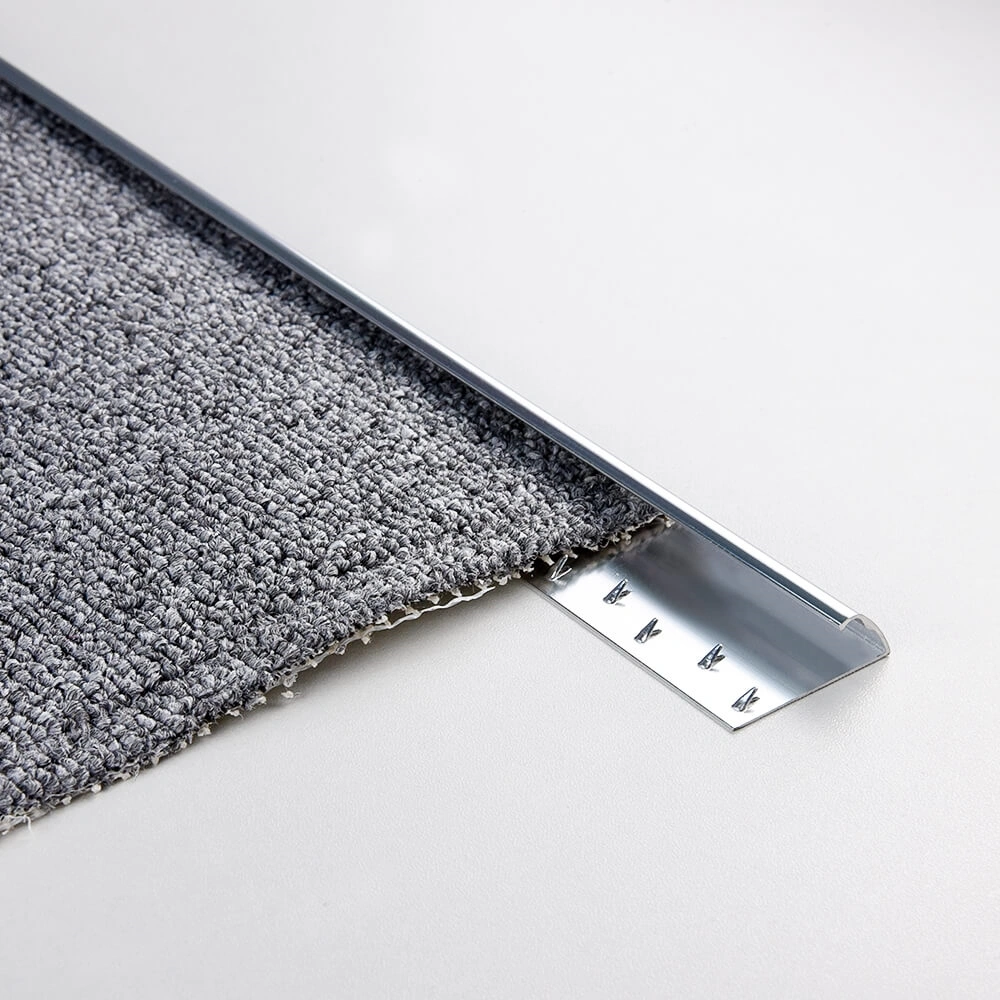
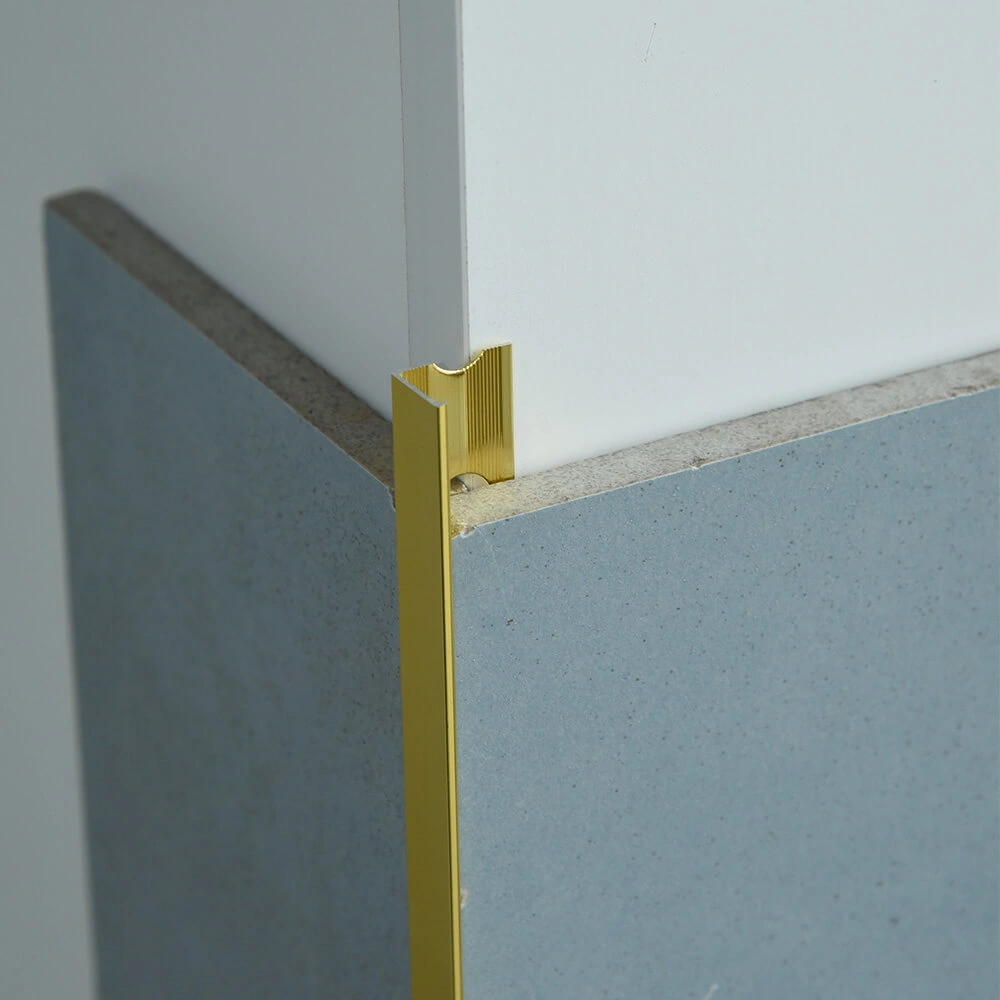
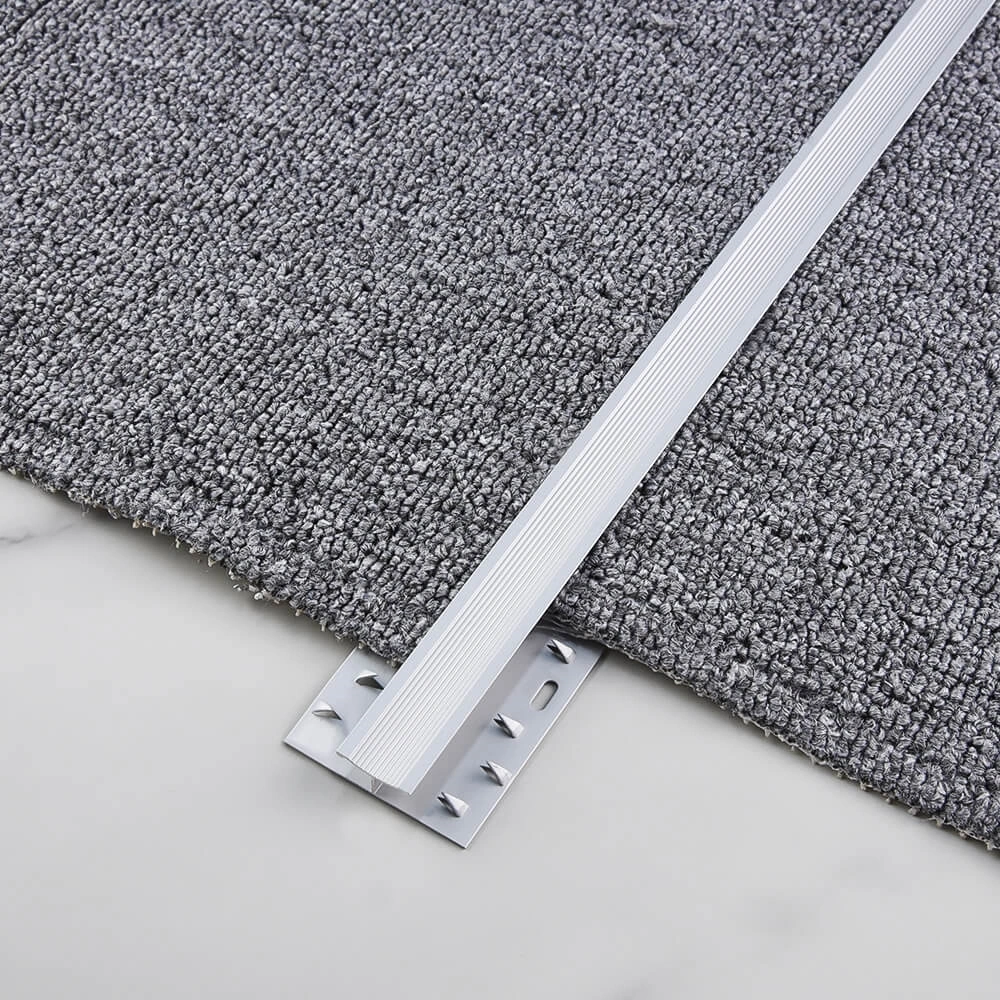
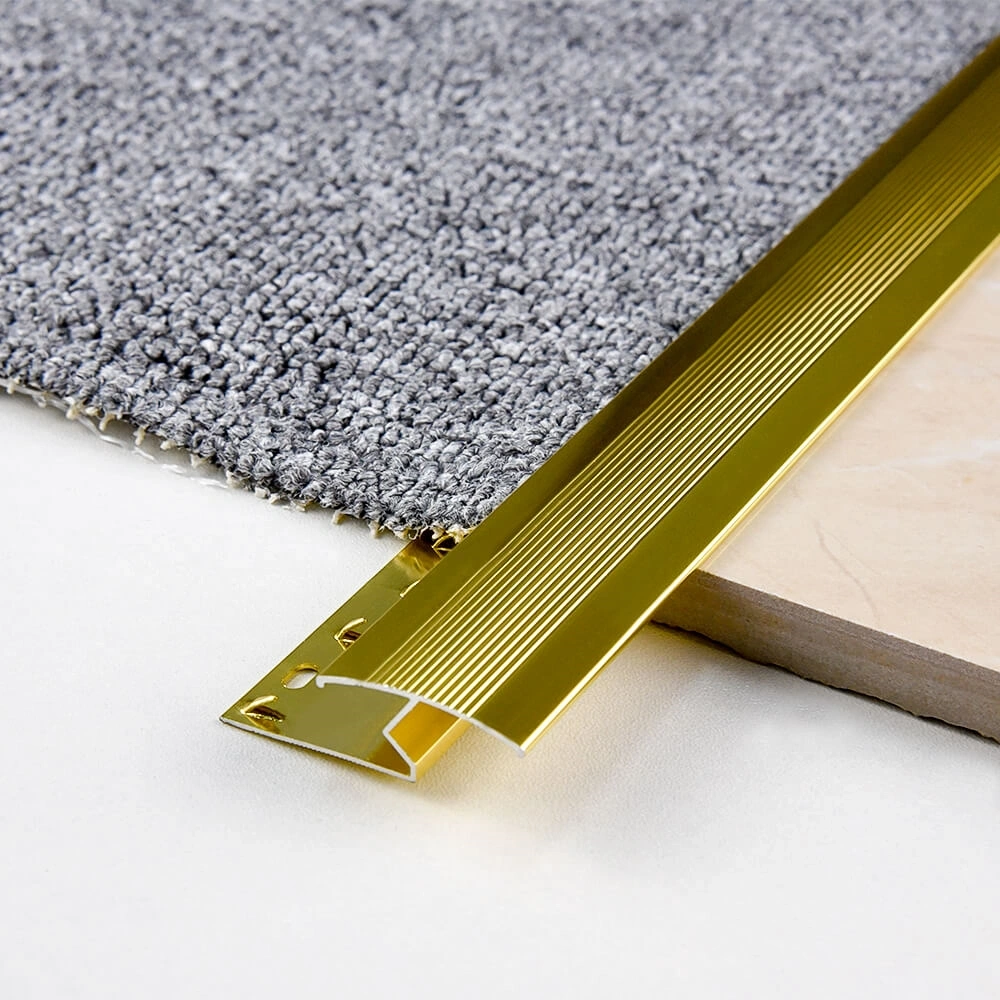
Achieve crisp architectural lines and permanent edge protection with WINSEN wall panel trim, the essential functional profile system engineered to frame, join, and terminate modern interior wall cladding.
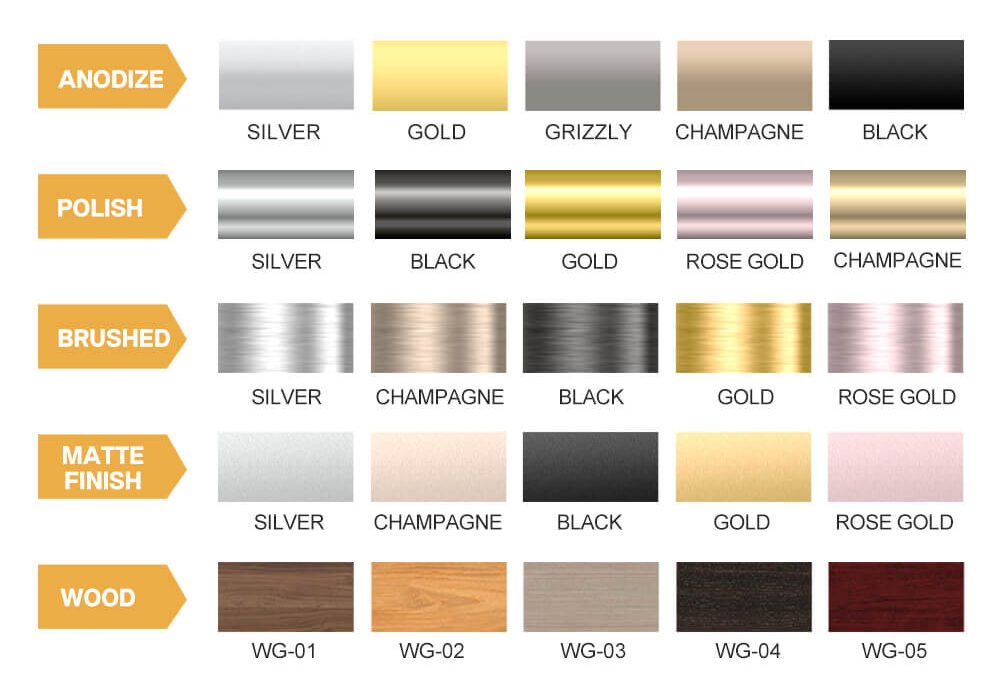
Surface Treatment:Anodize, Polish, Matt, Brushed, Powder Coating, Wood Grain, etc.
Application
Surface & Colors
Surface treatment and colors can be customized.
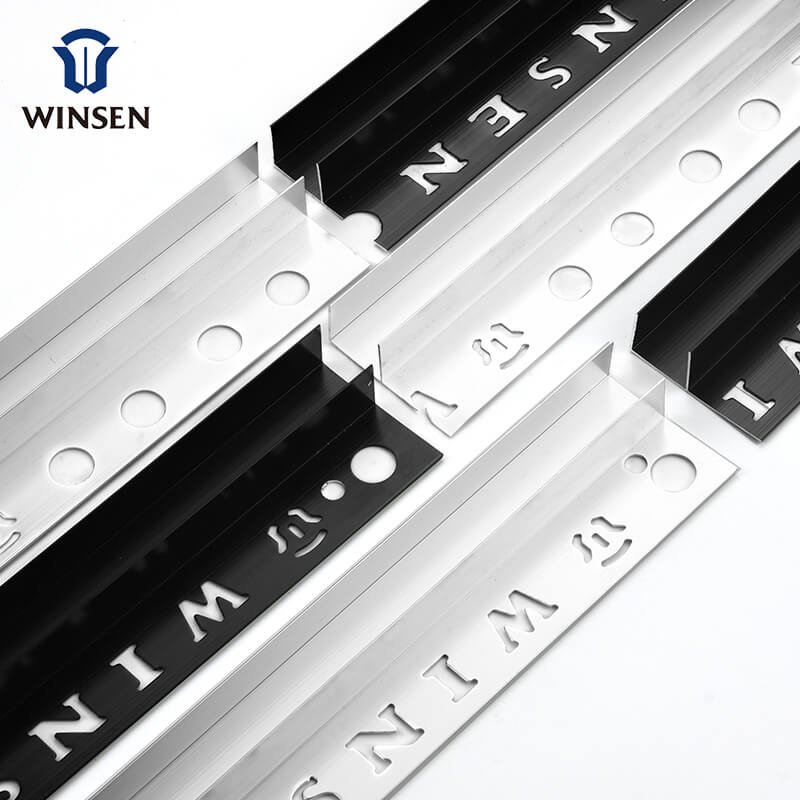
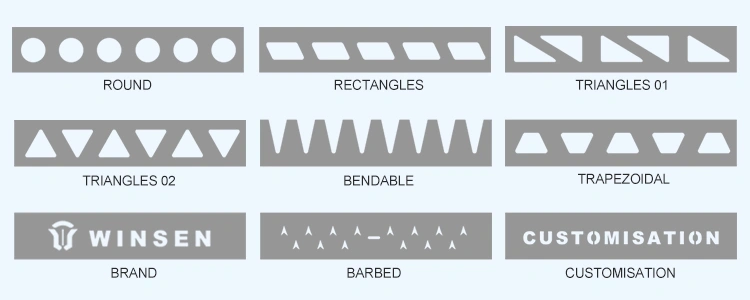
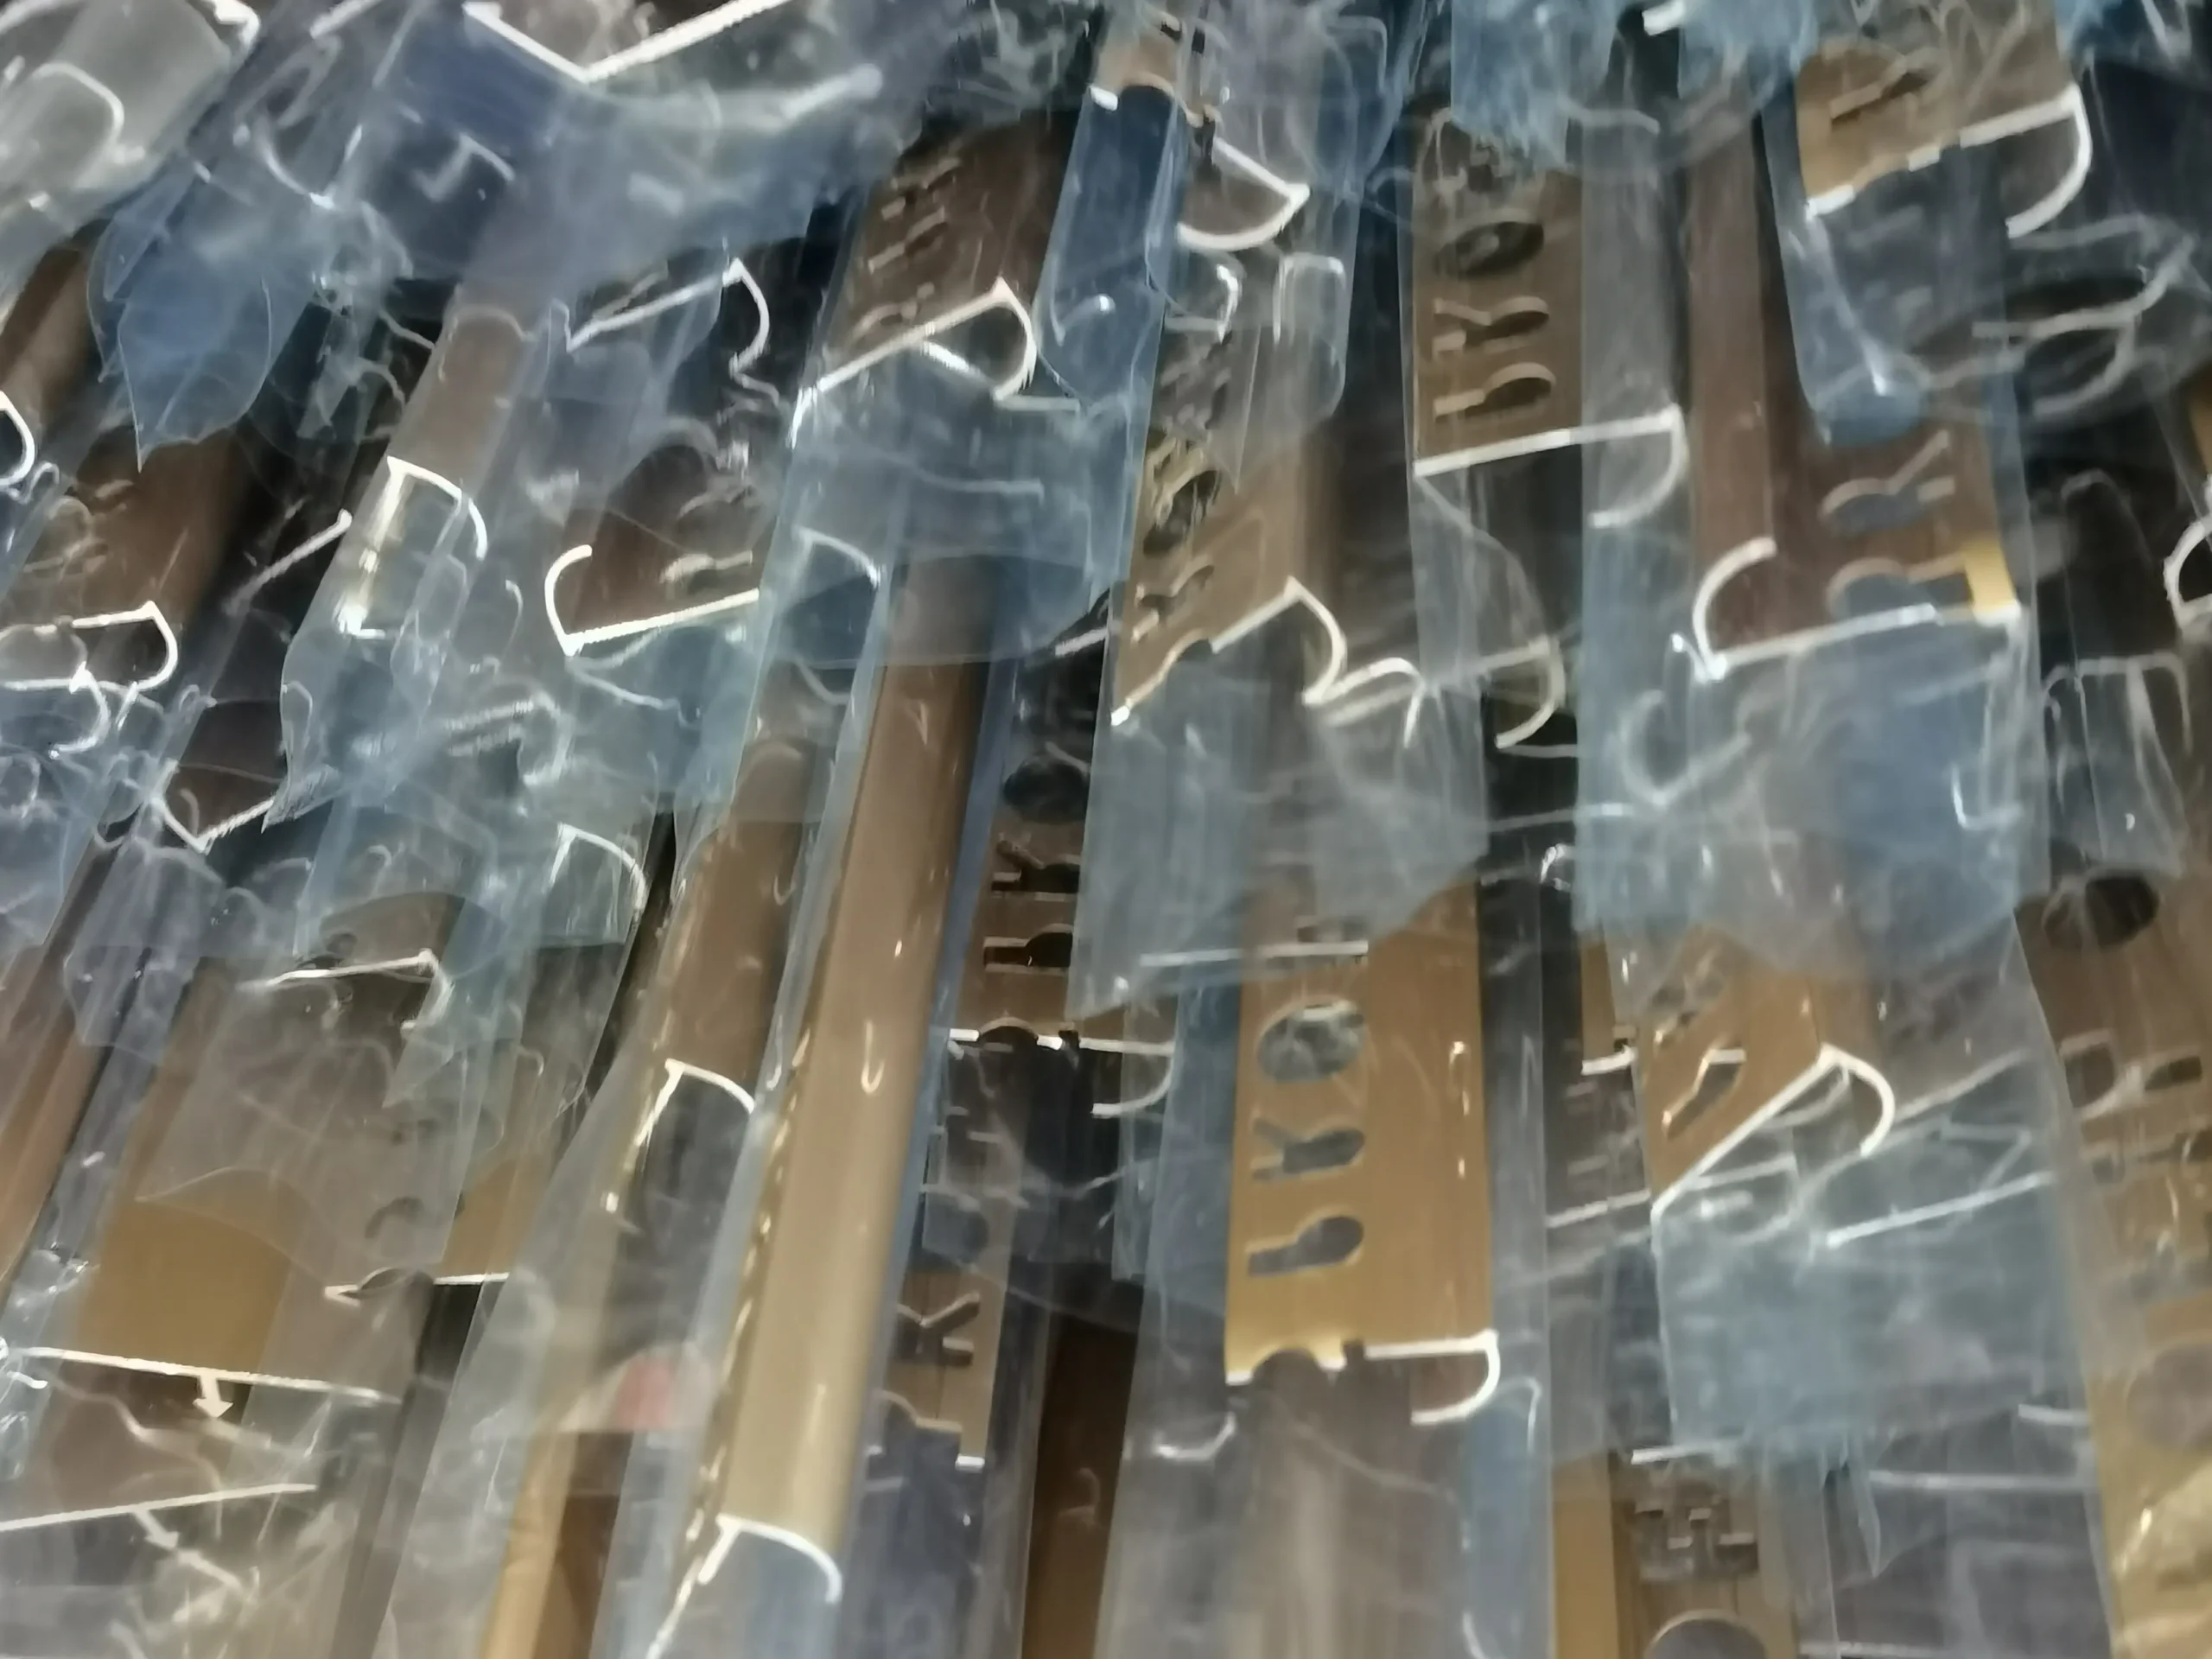
Punching Hole
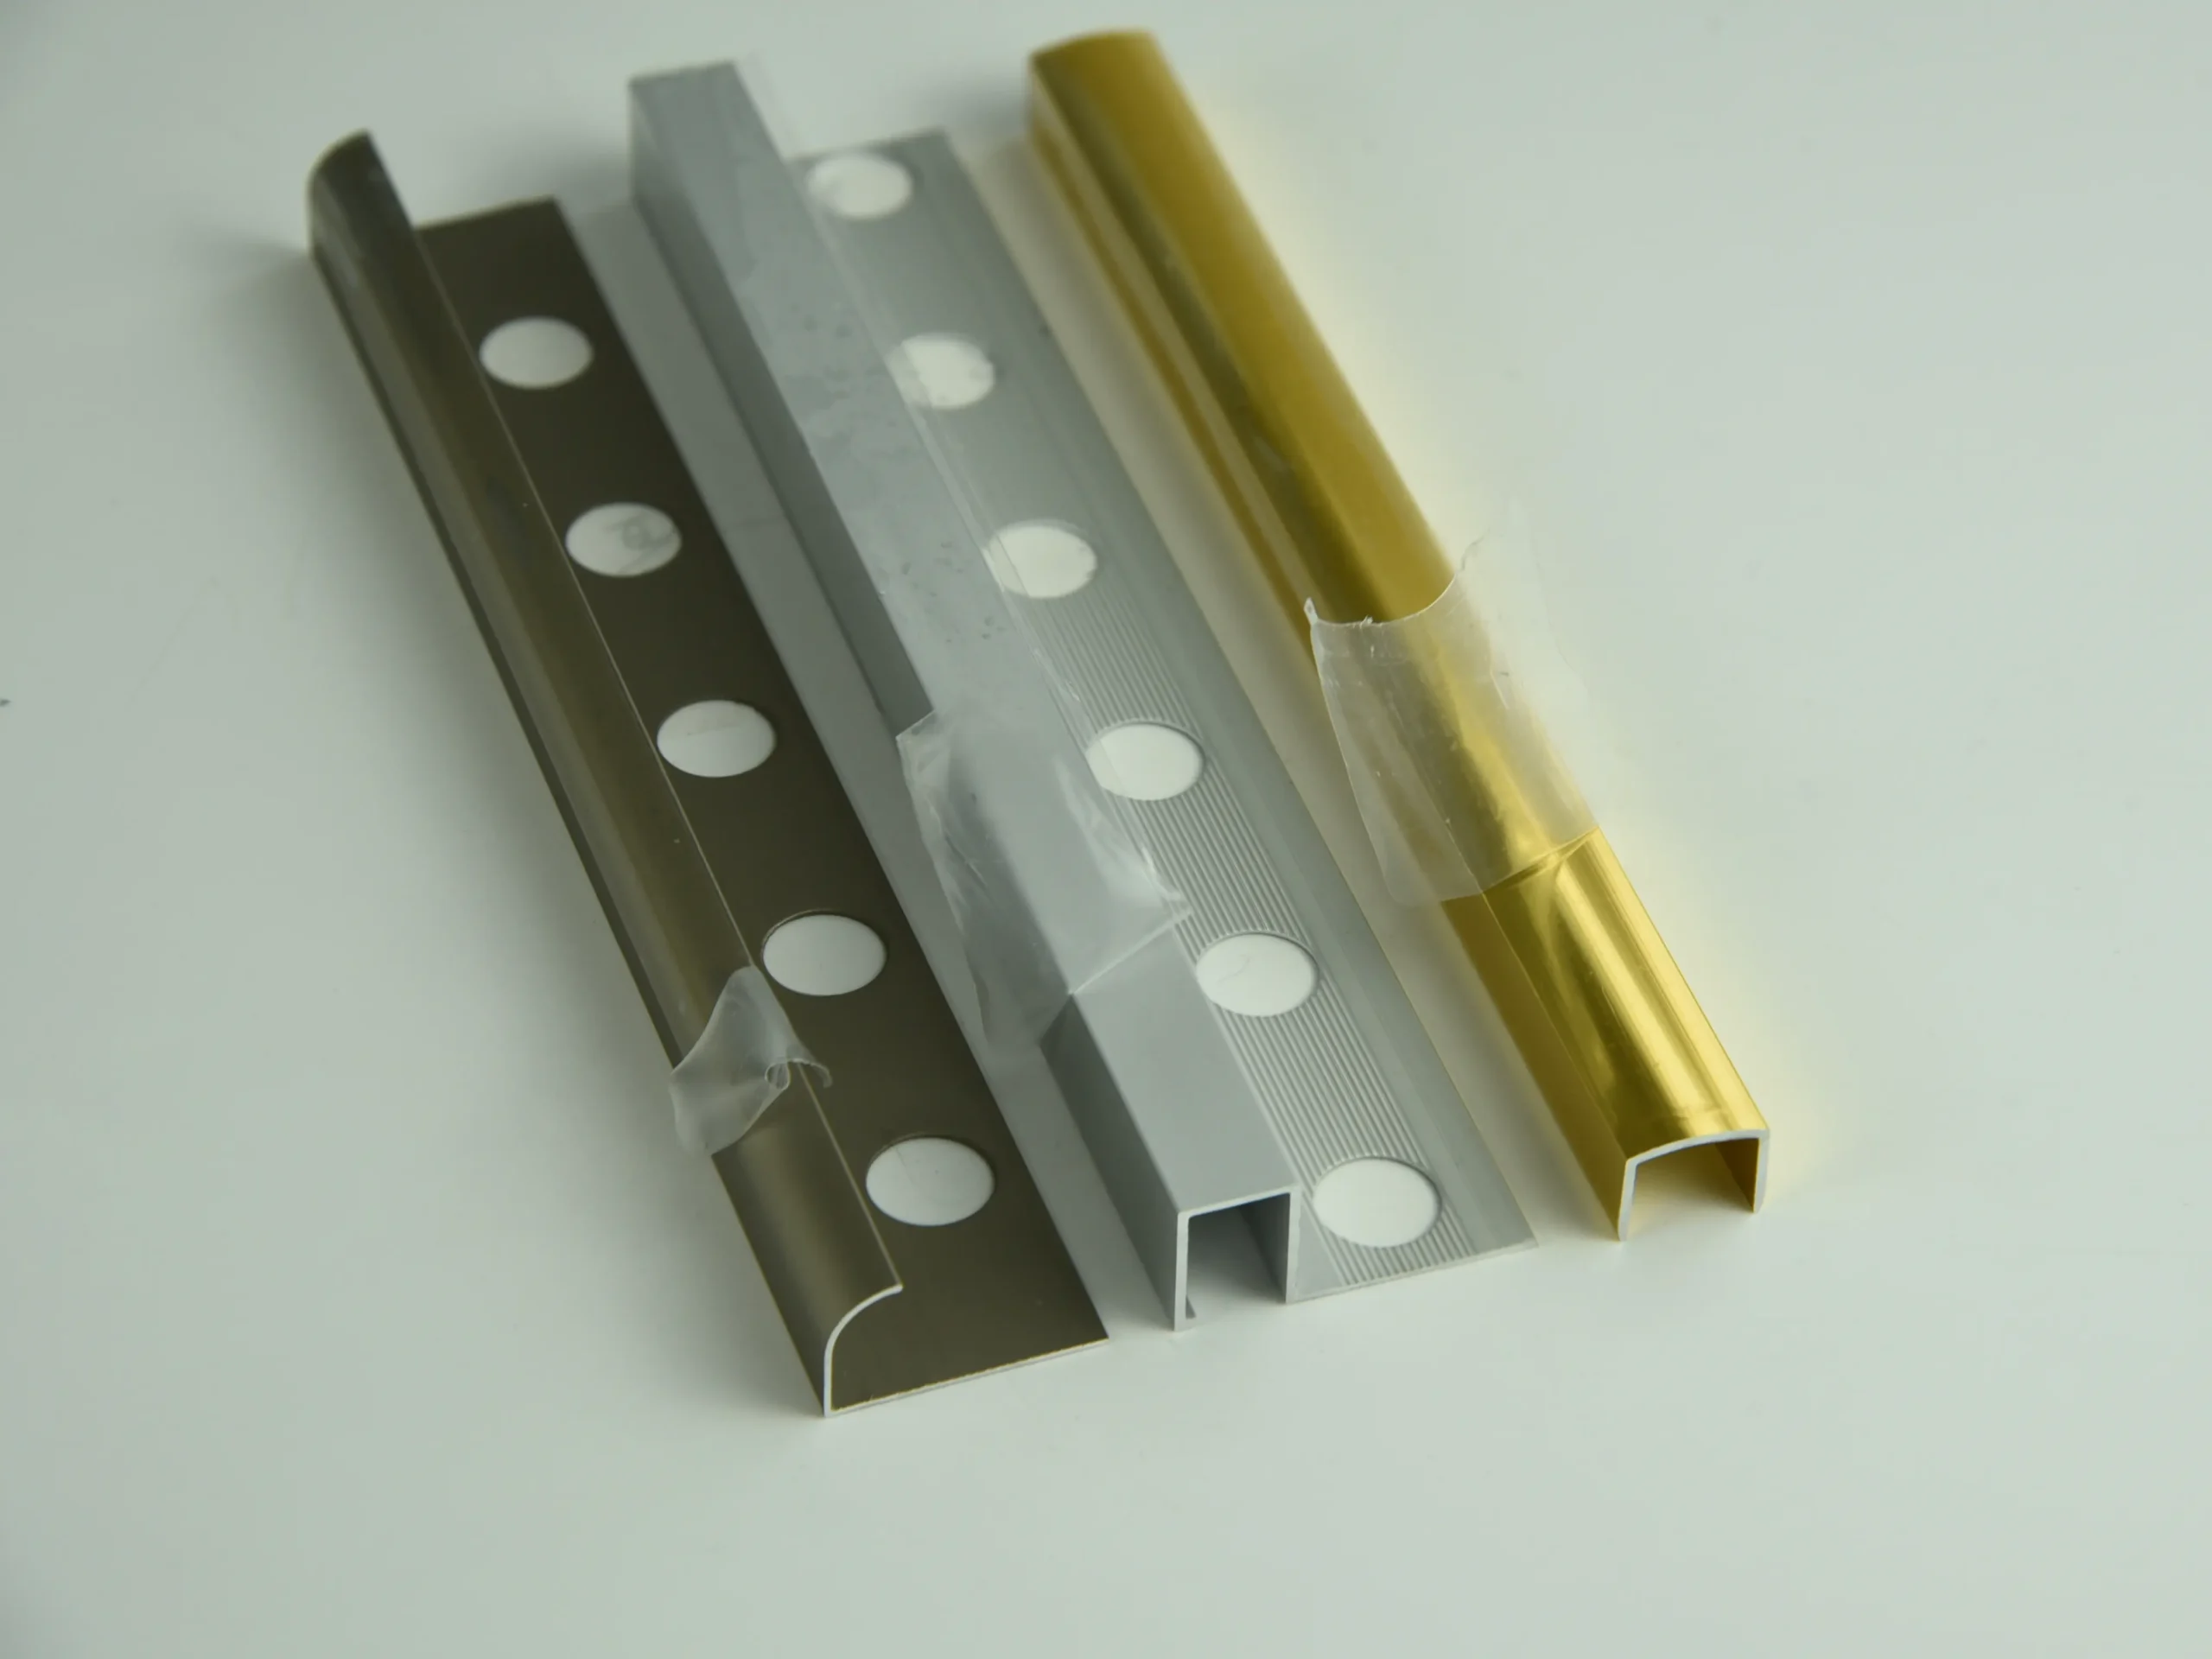
Customize anchoring hole patterns, dimensions, and positioning for optimal thin-set mortar bonding.
Available in standard and specialty punches (round, square, slot).
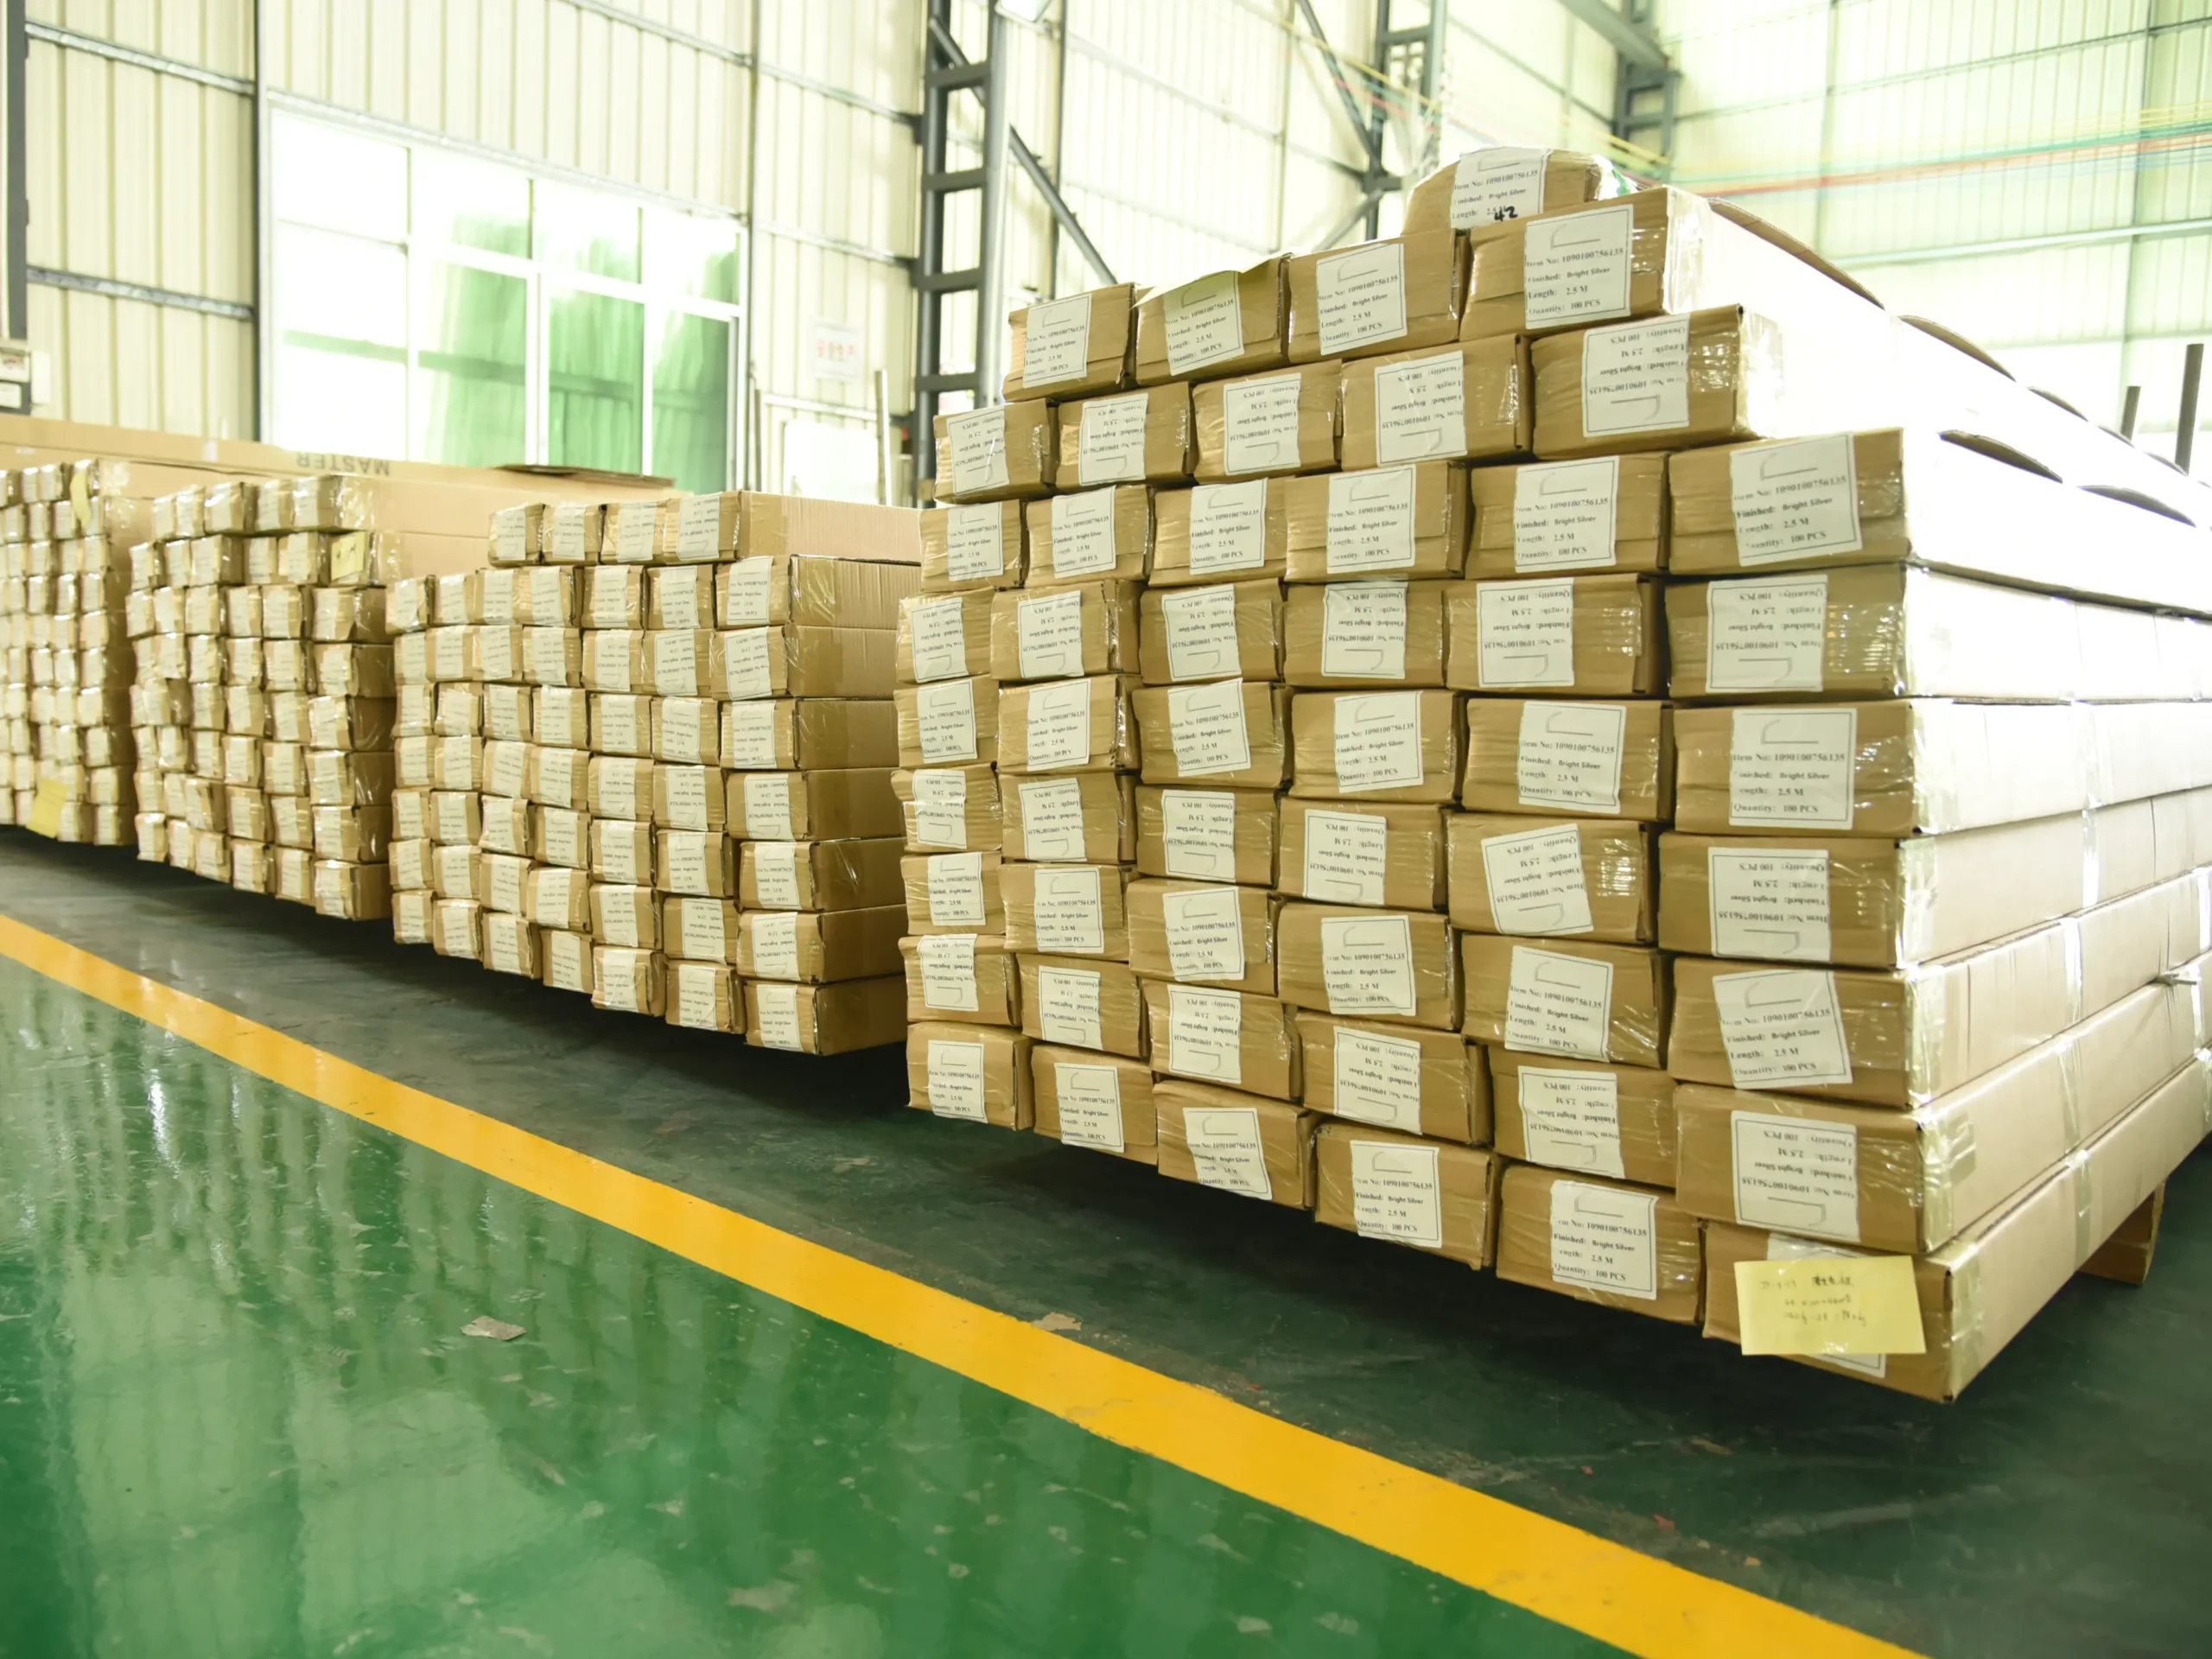
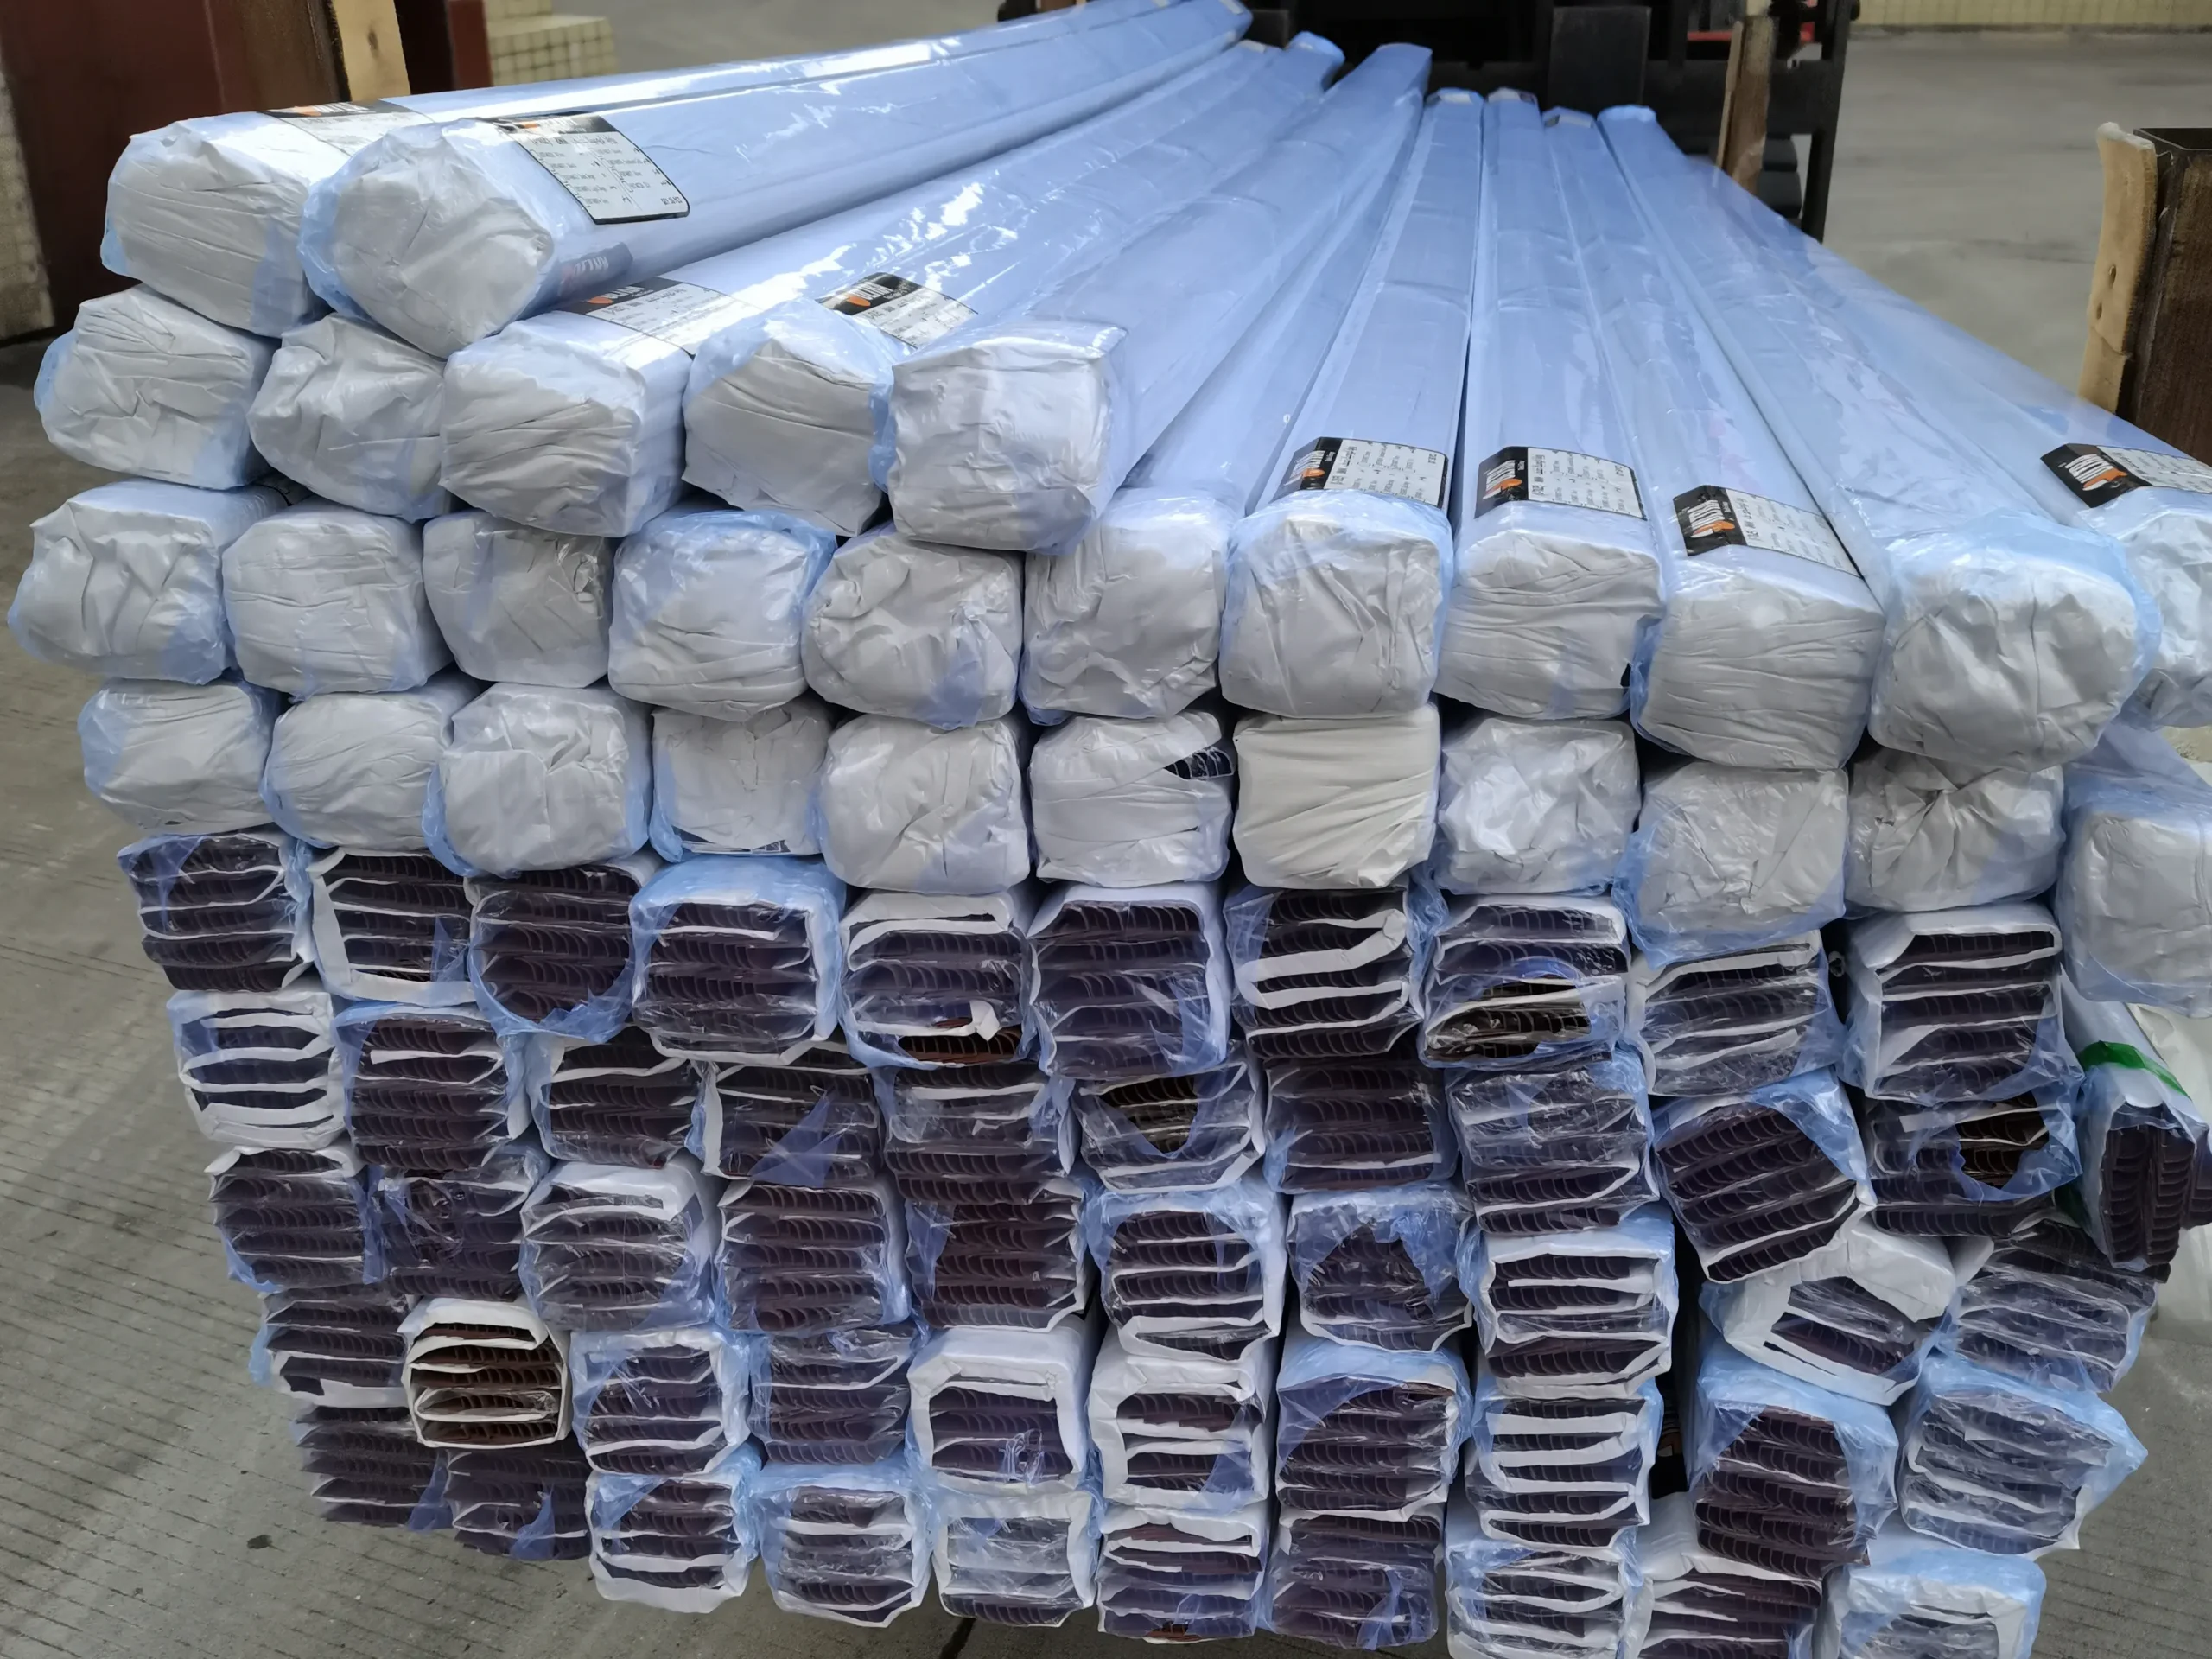
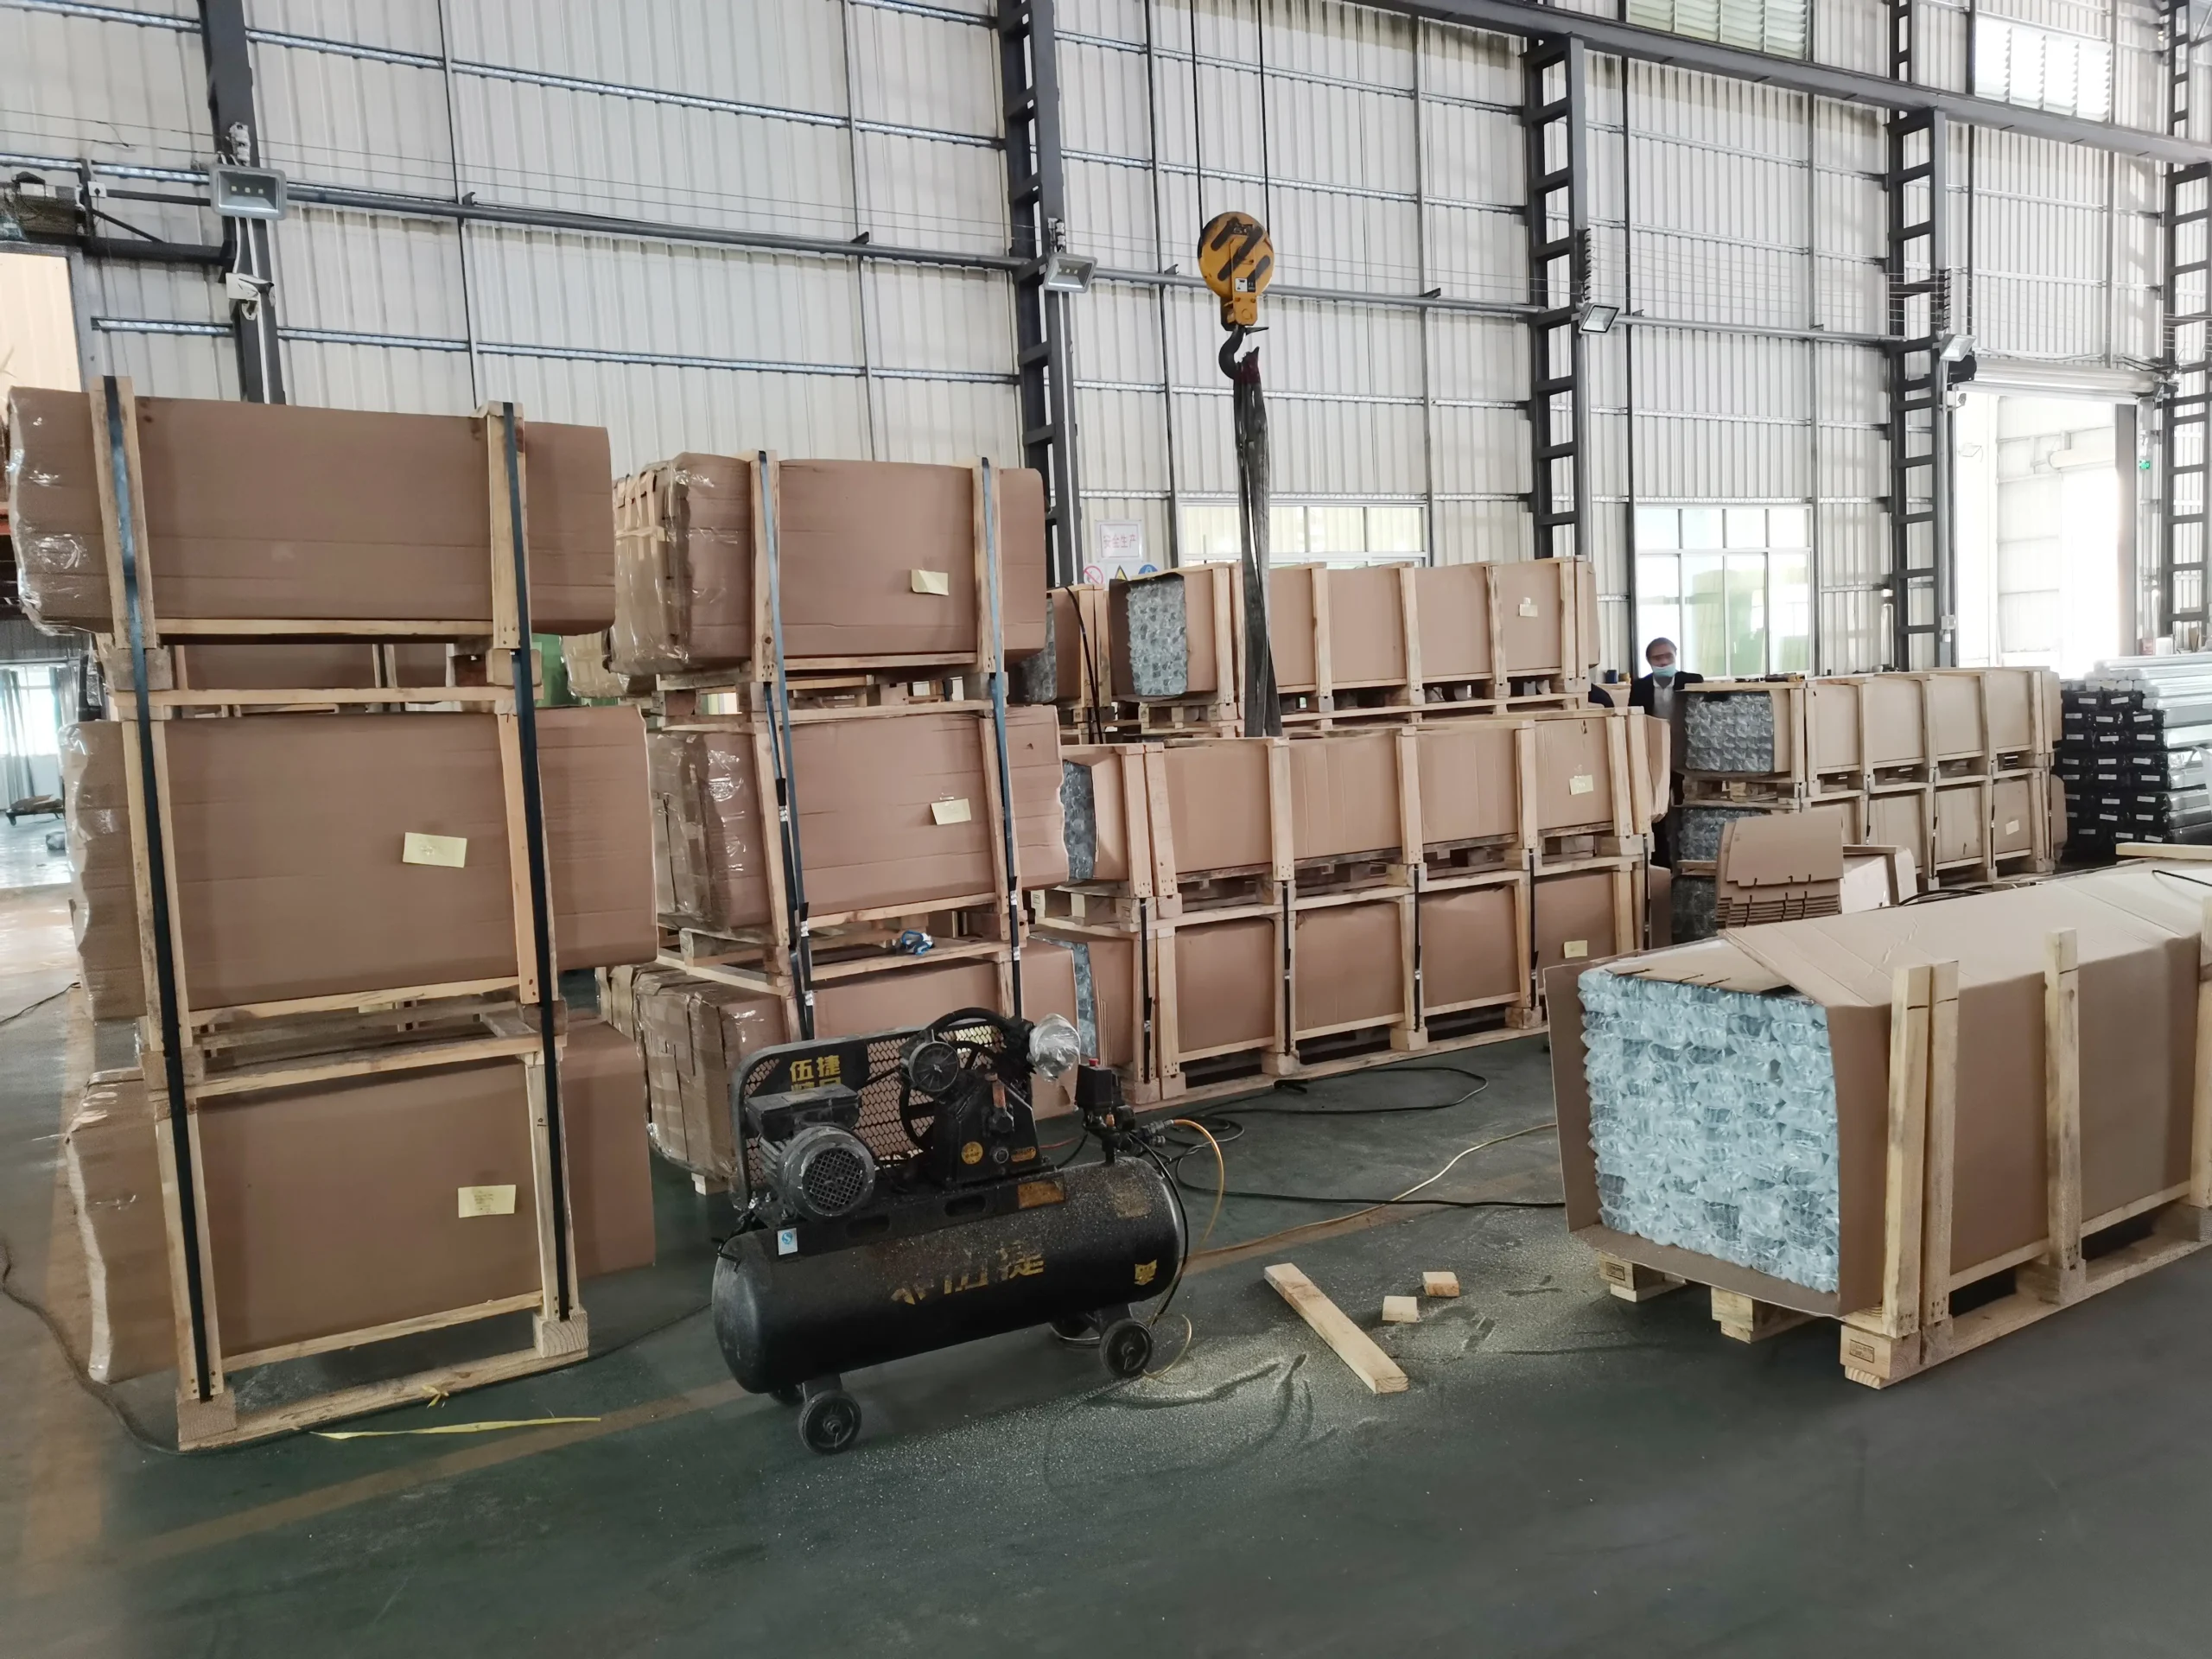
Package
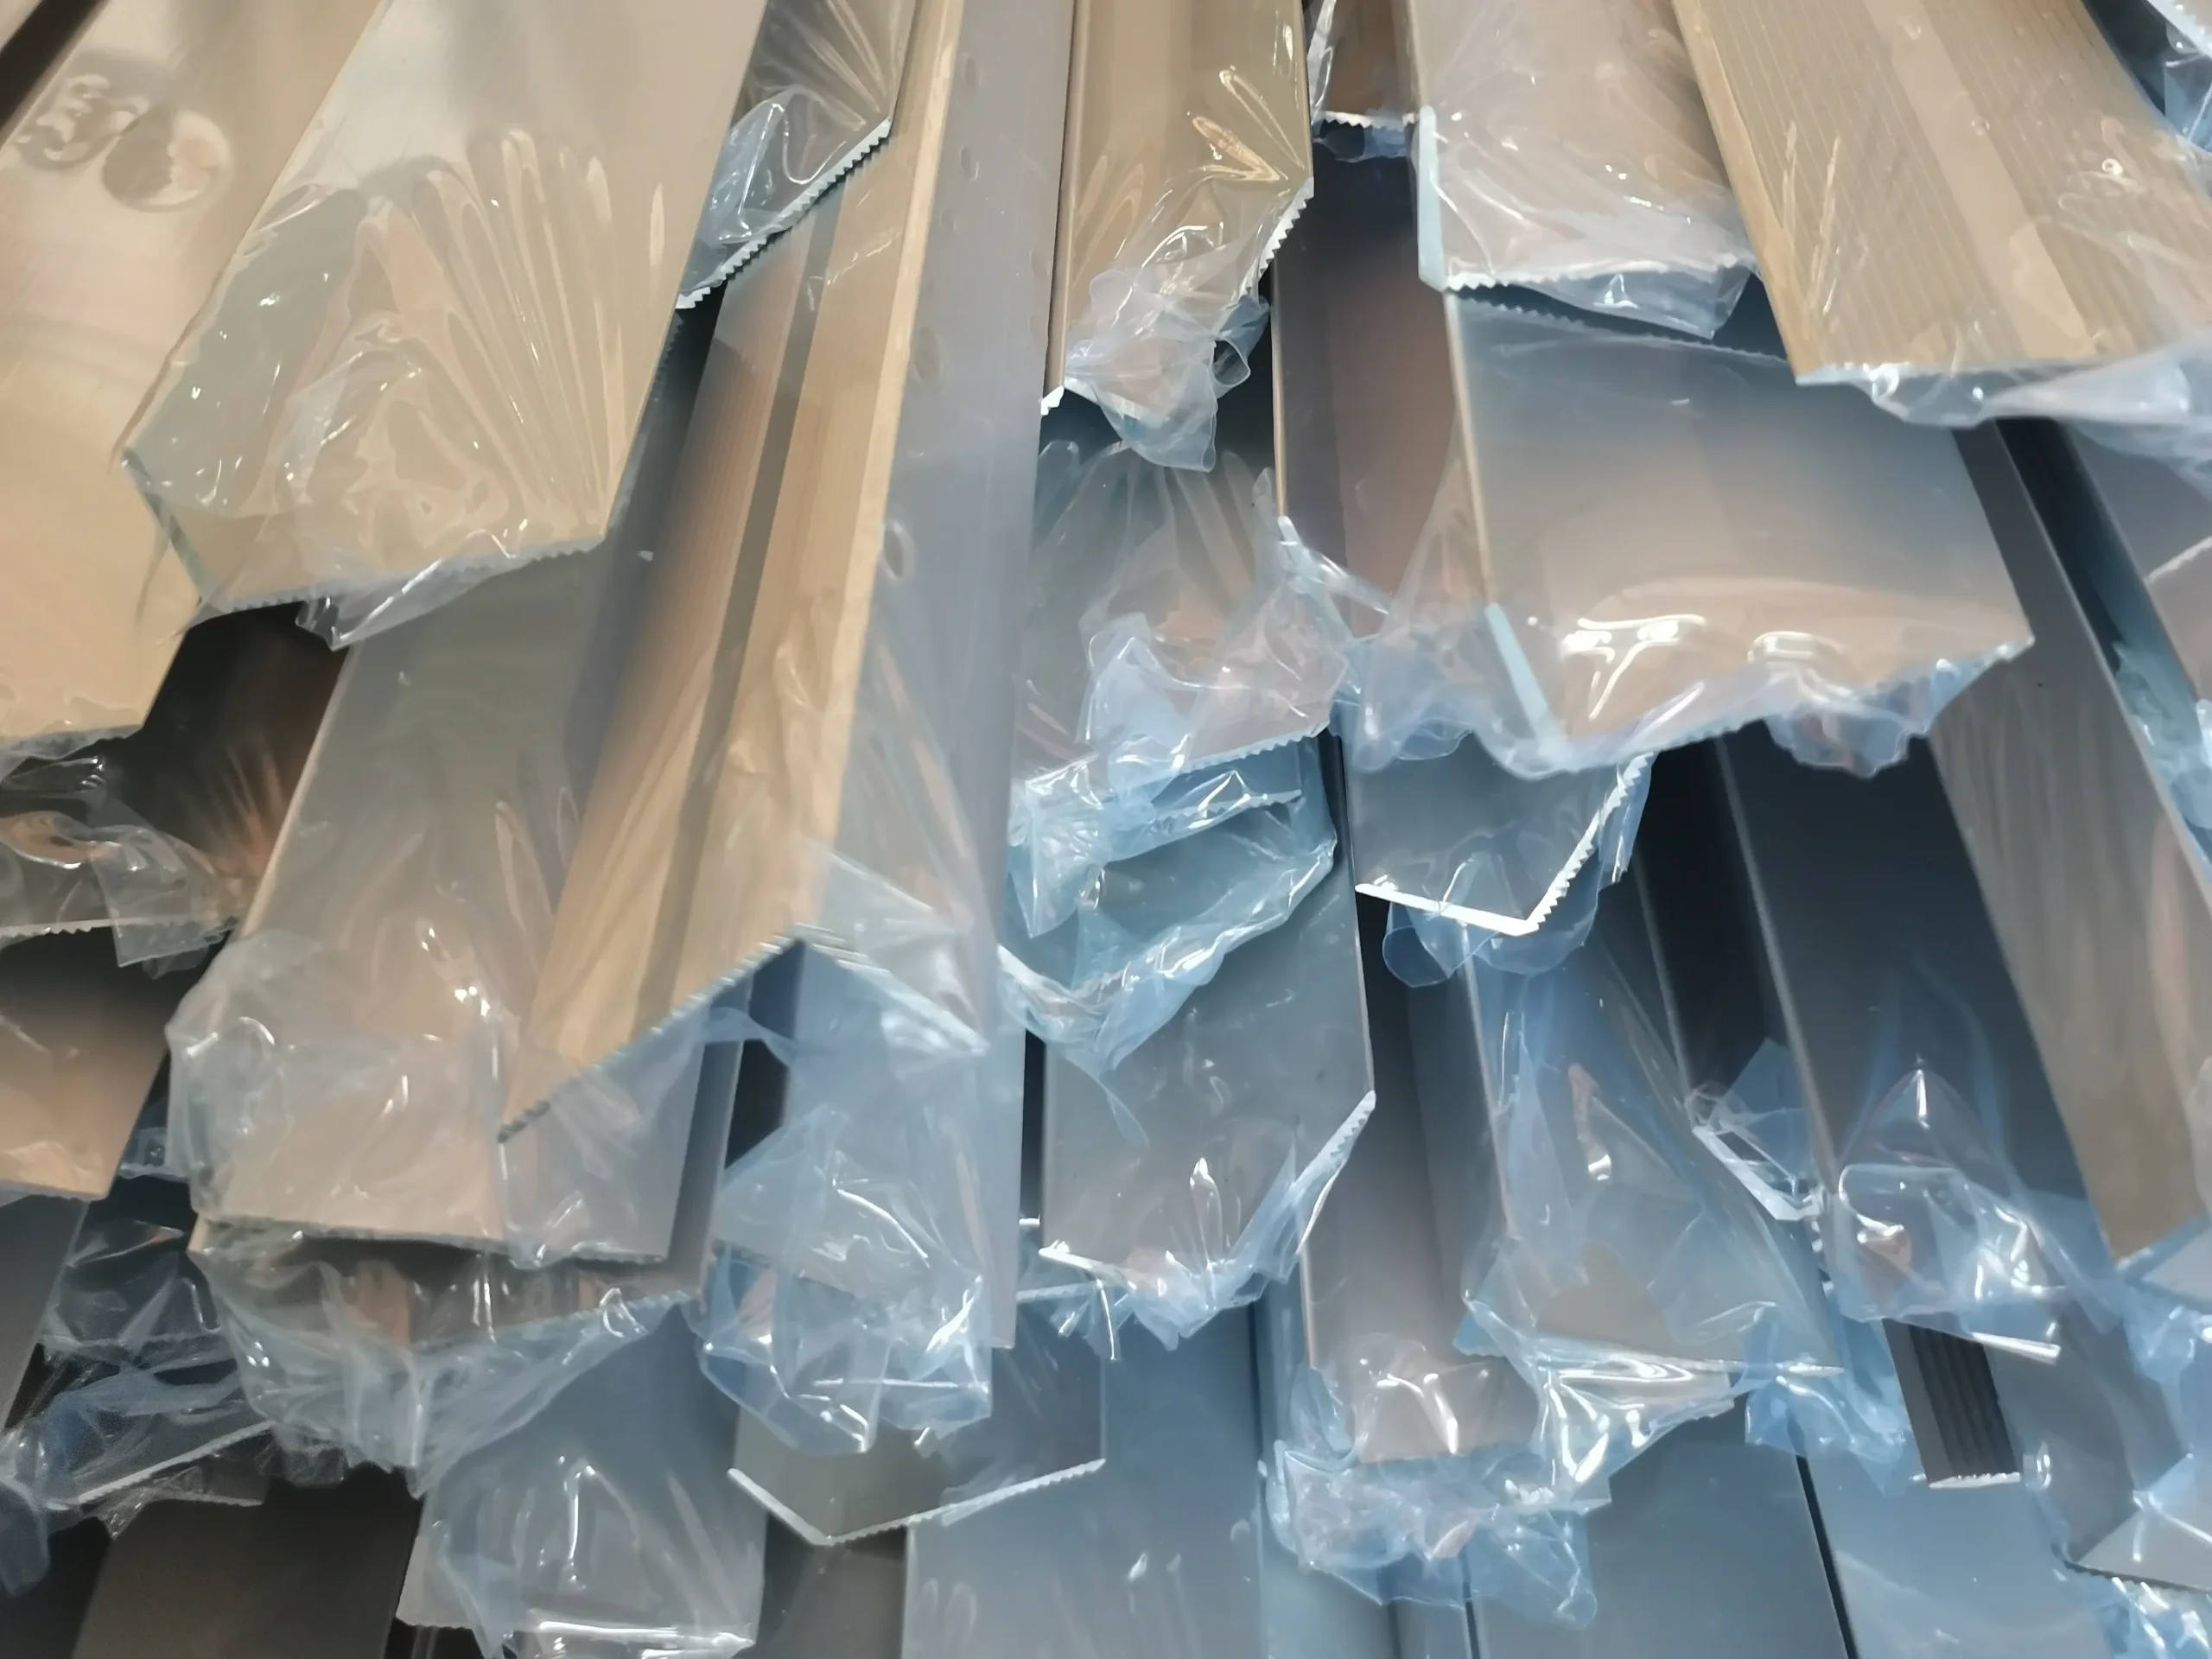
Shrink Wrapping
Protective Film
Single Bag
Carton
Paper Tube Packaging
Wooden/Steel Pallet
Capability
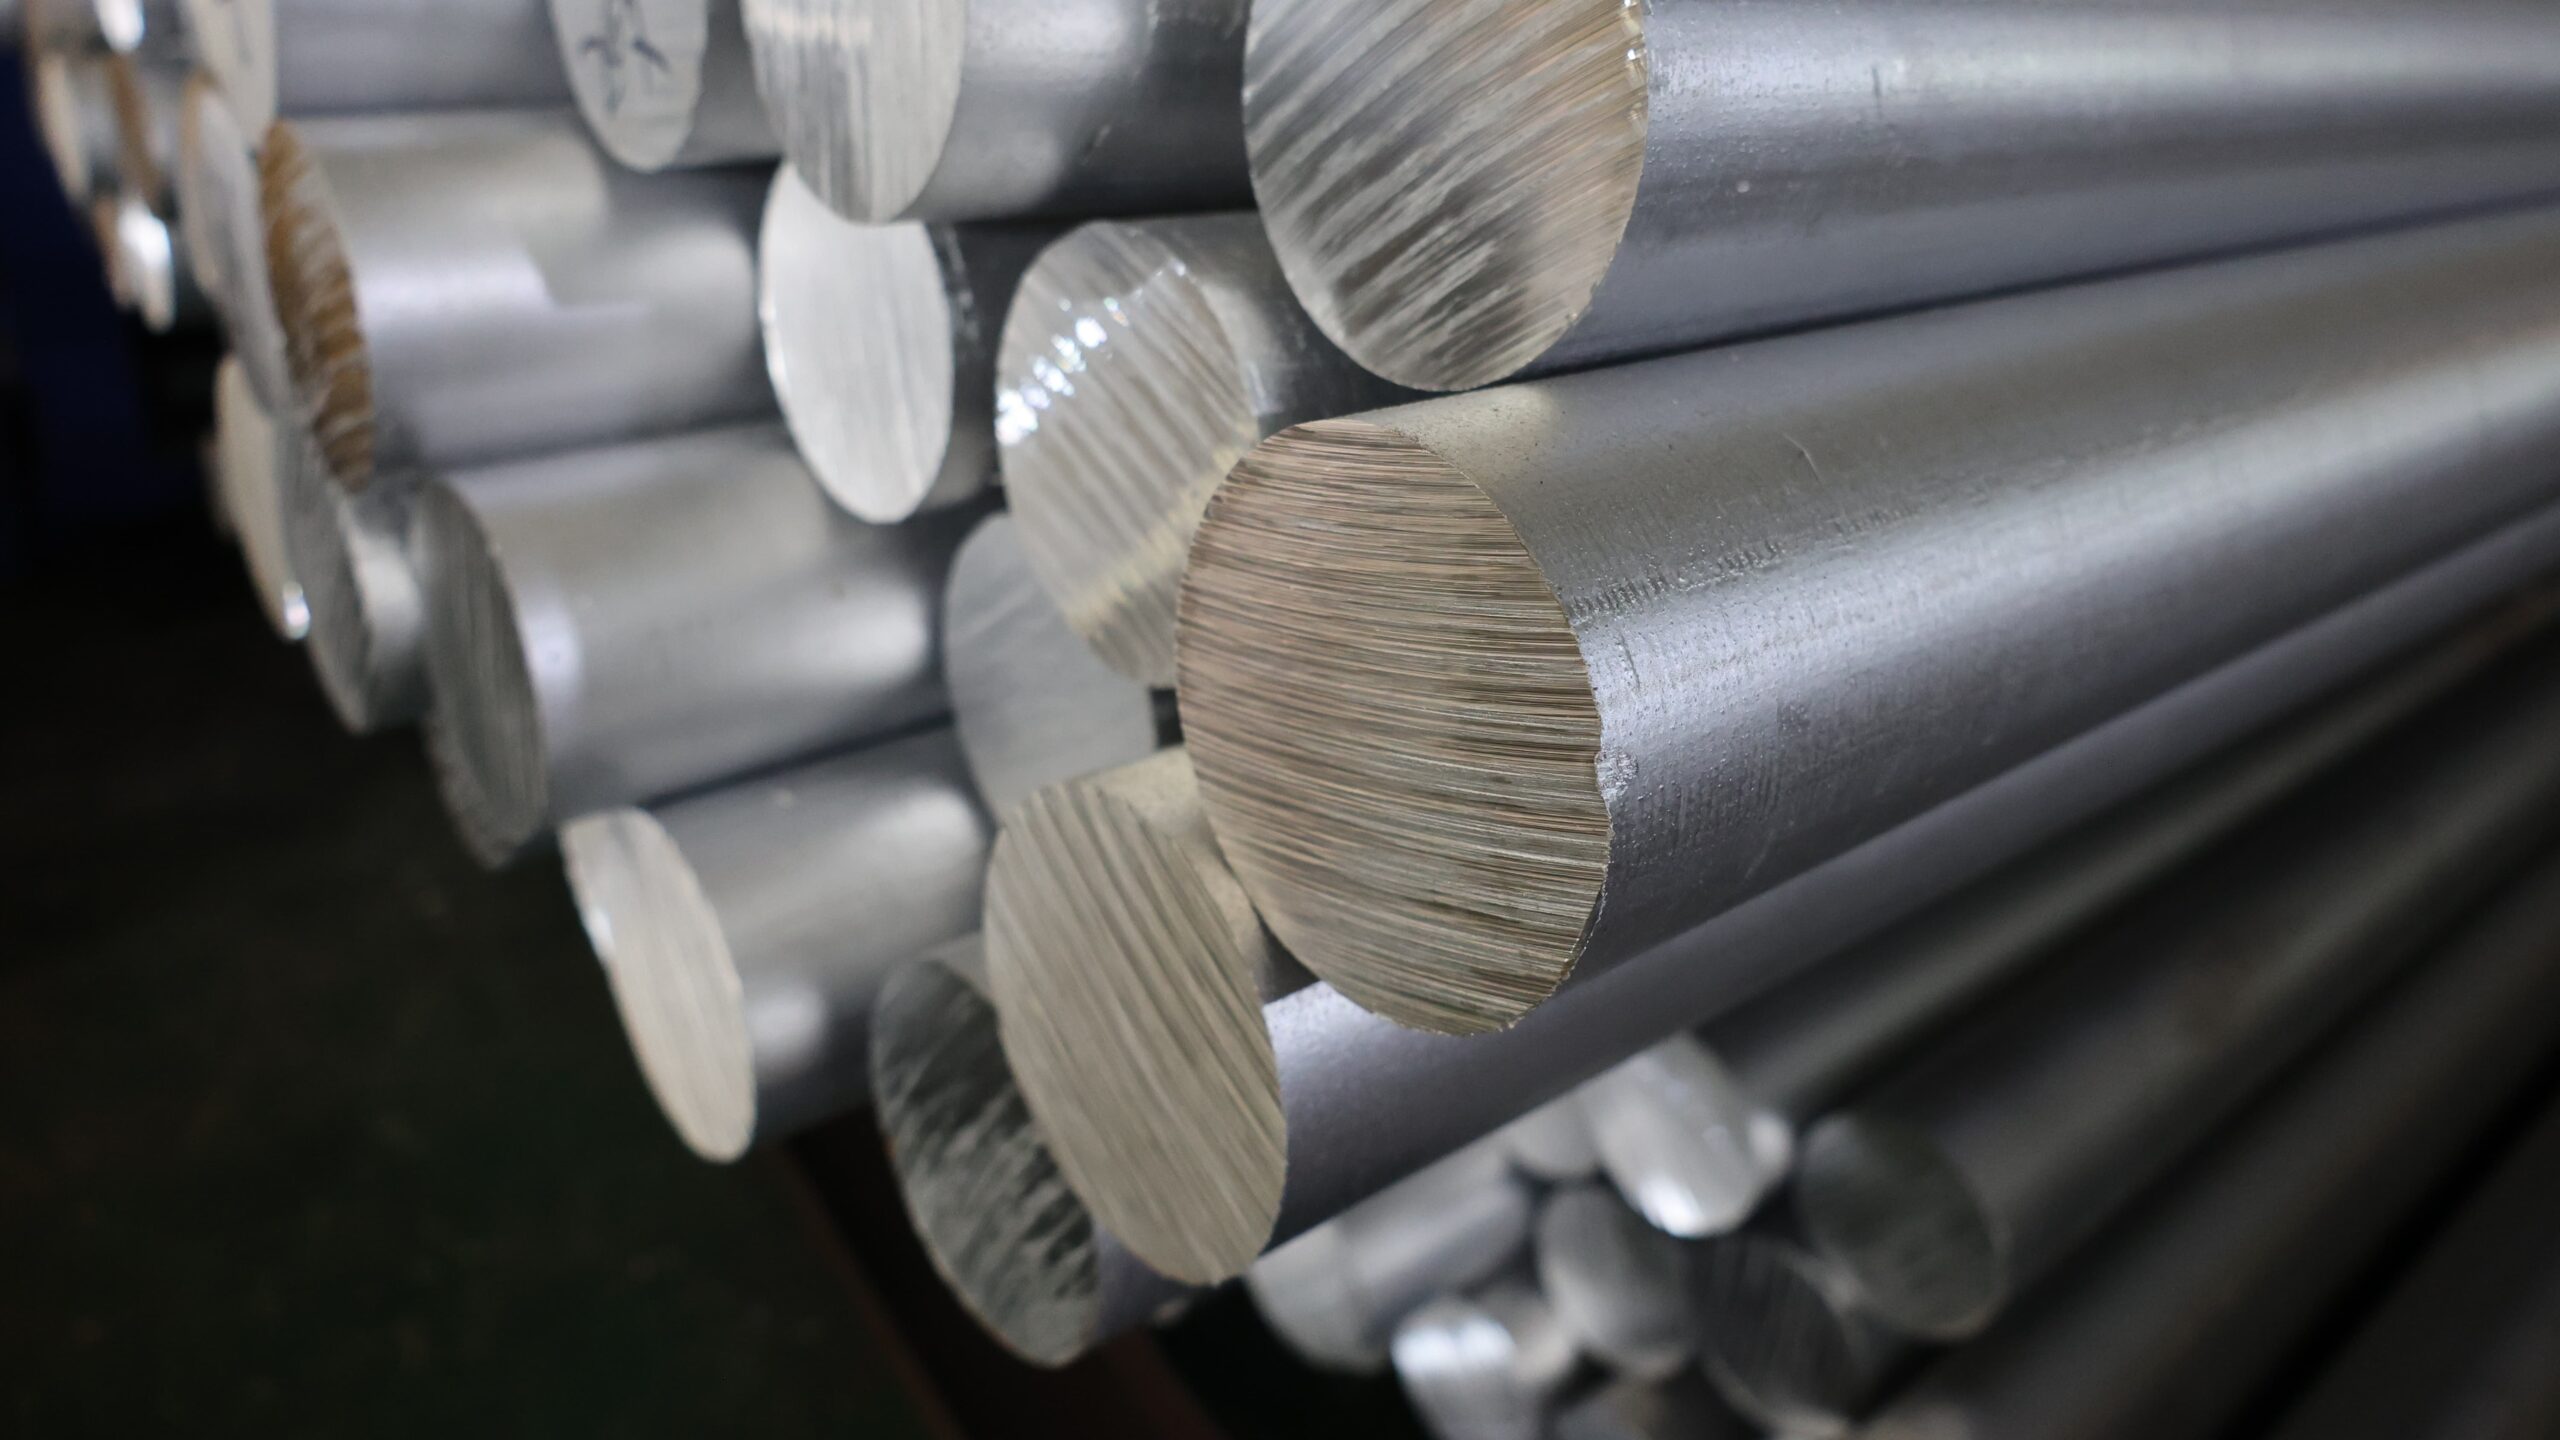
Premium Raw Material
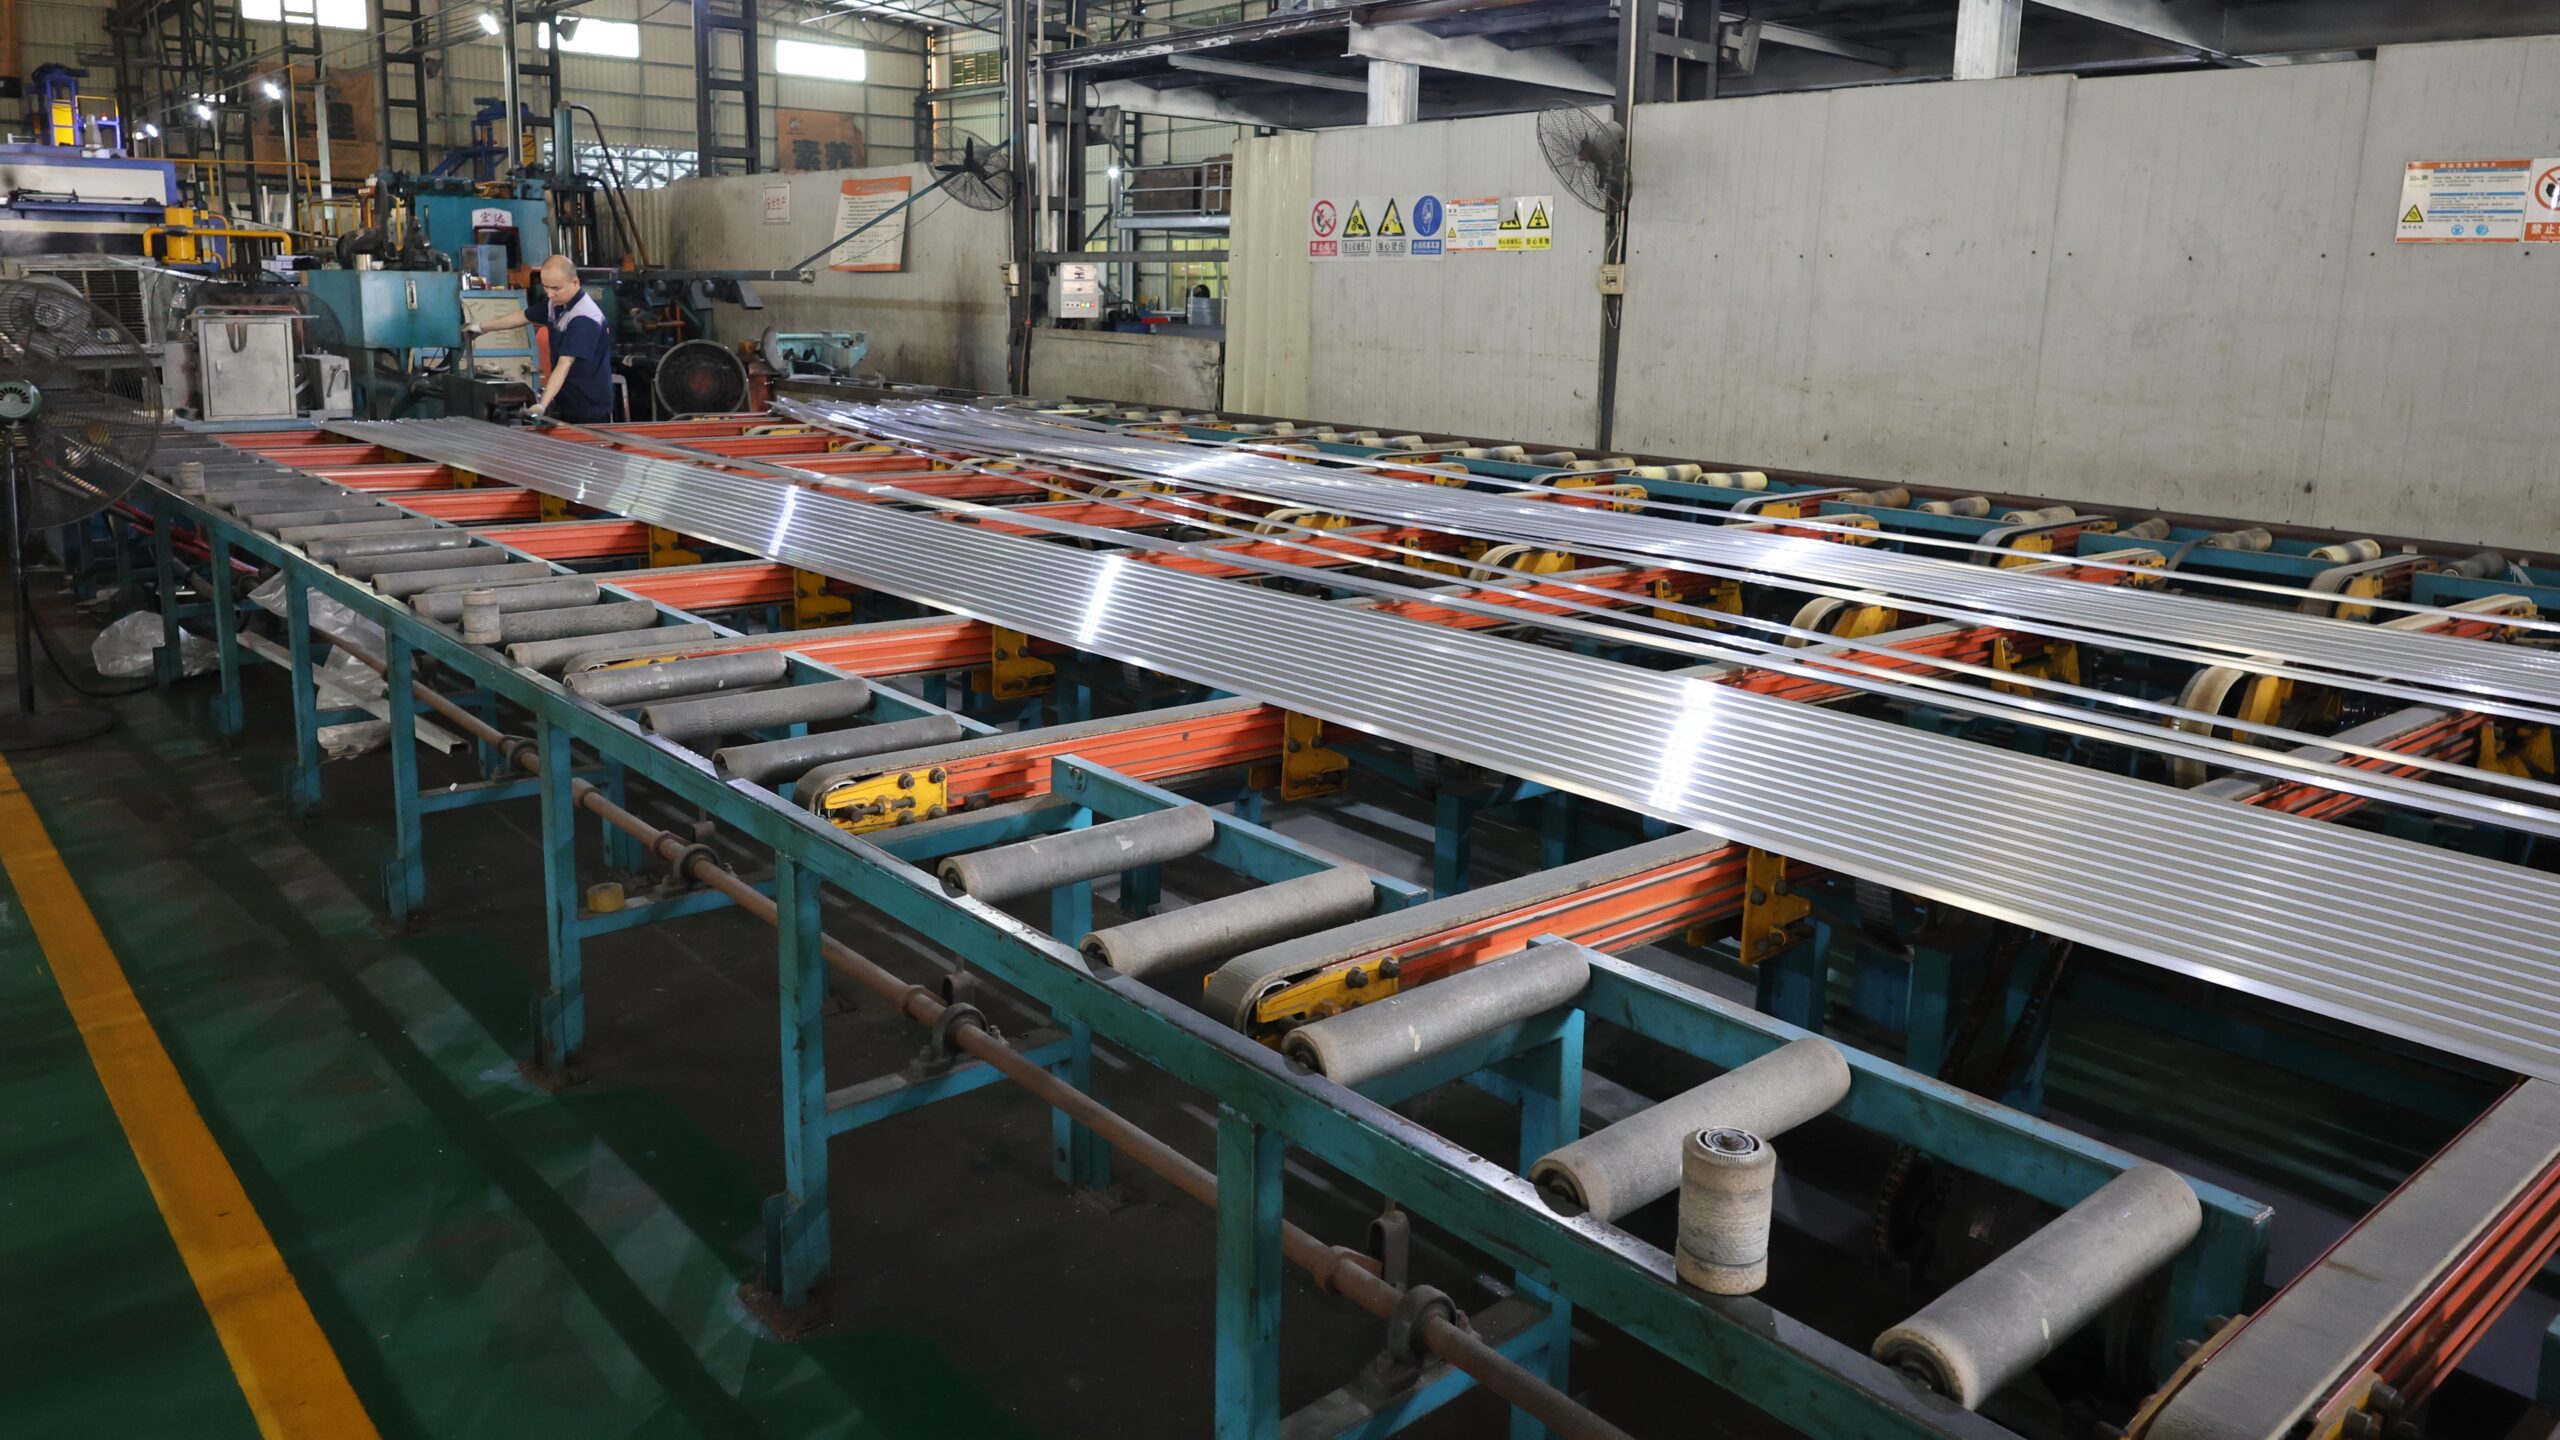
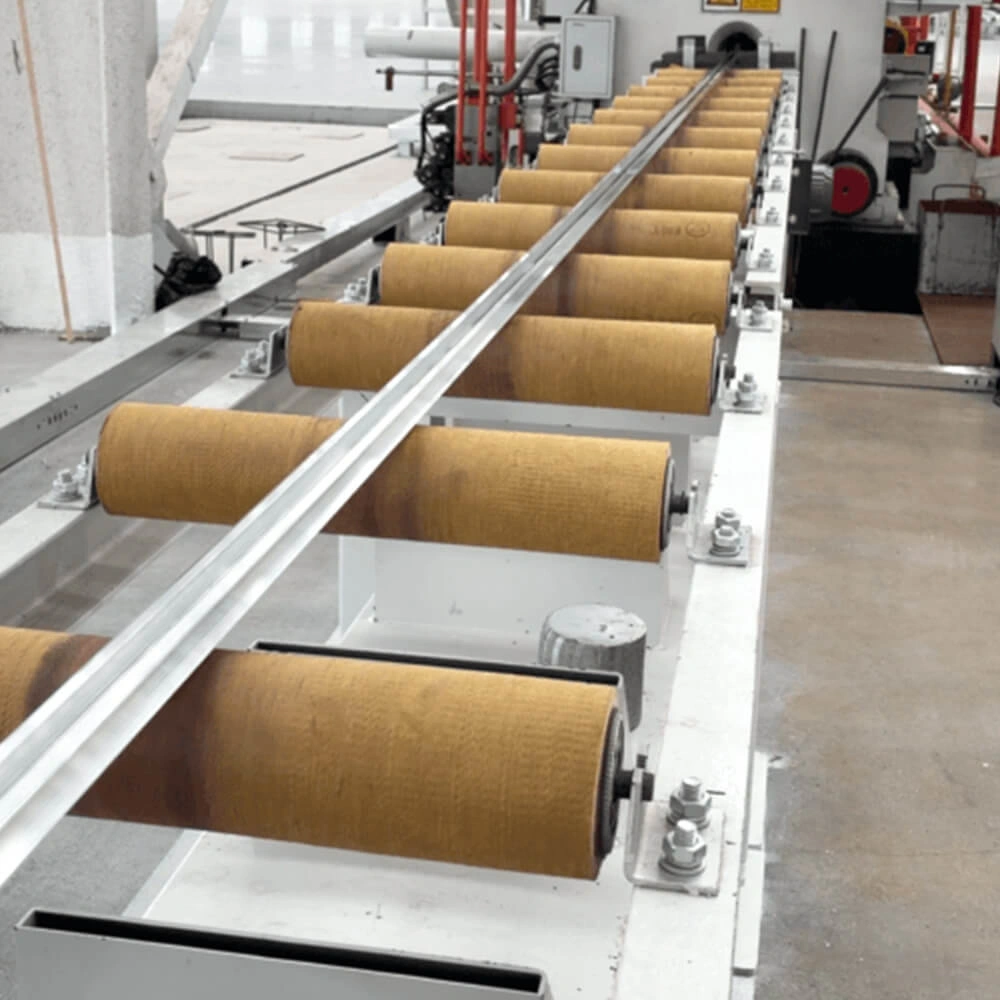
Flexible Extrusion Capacity
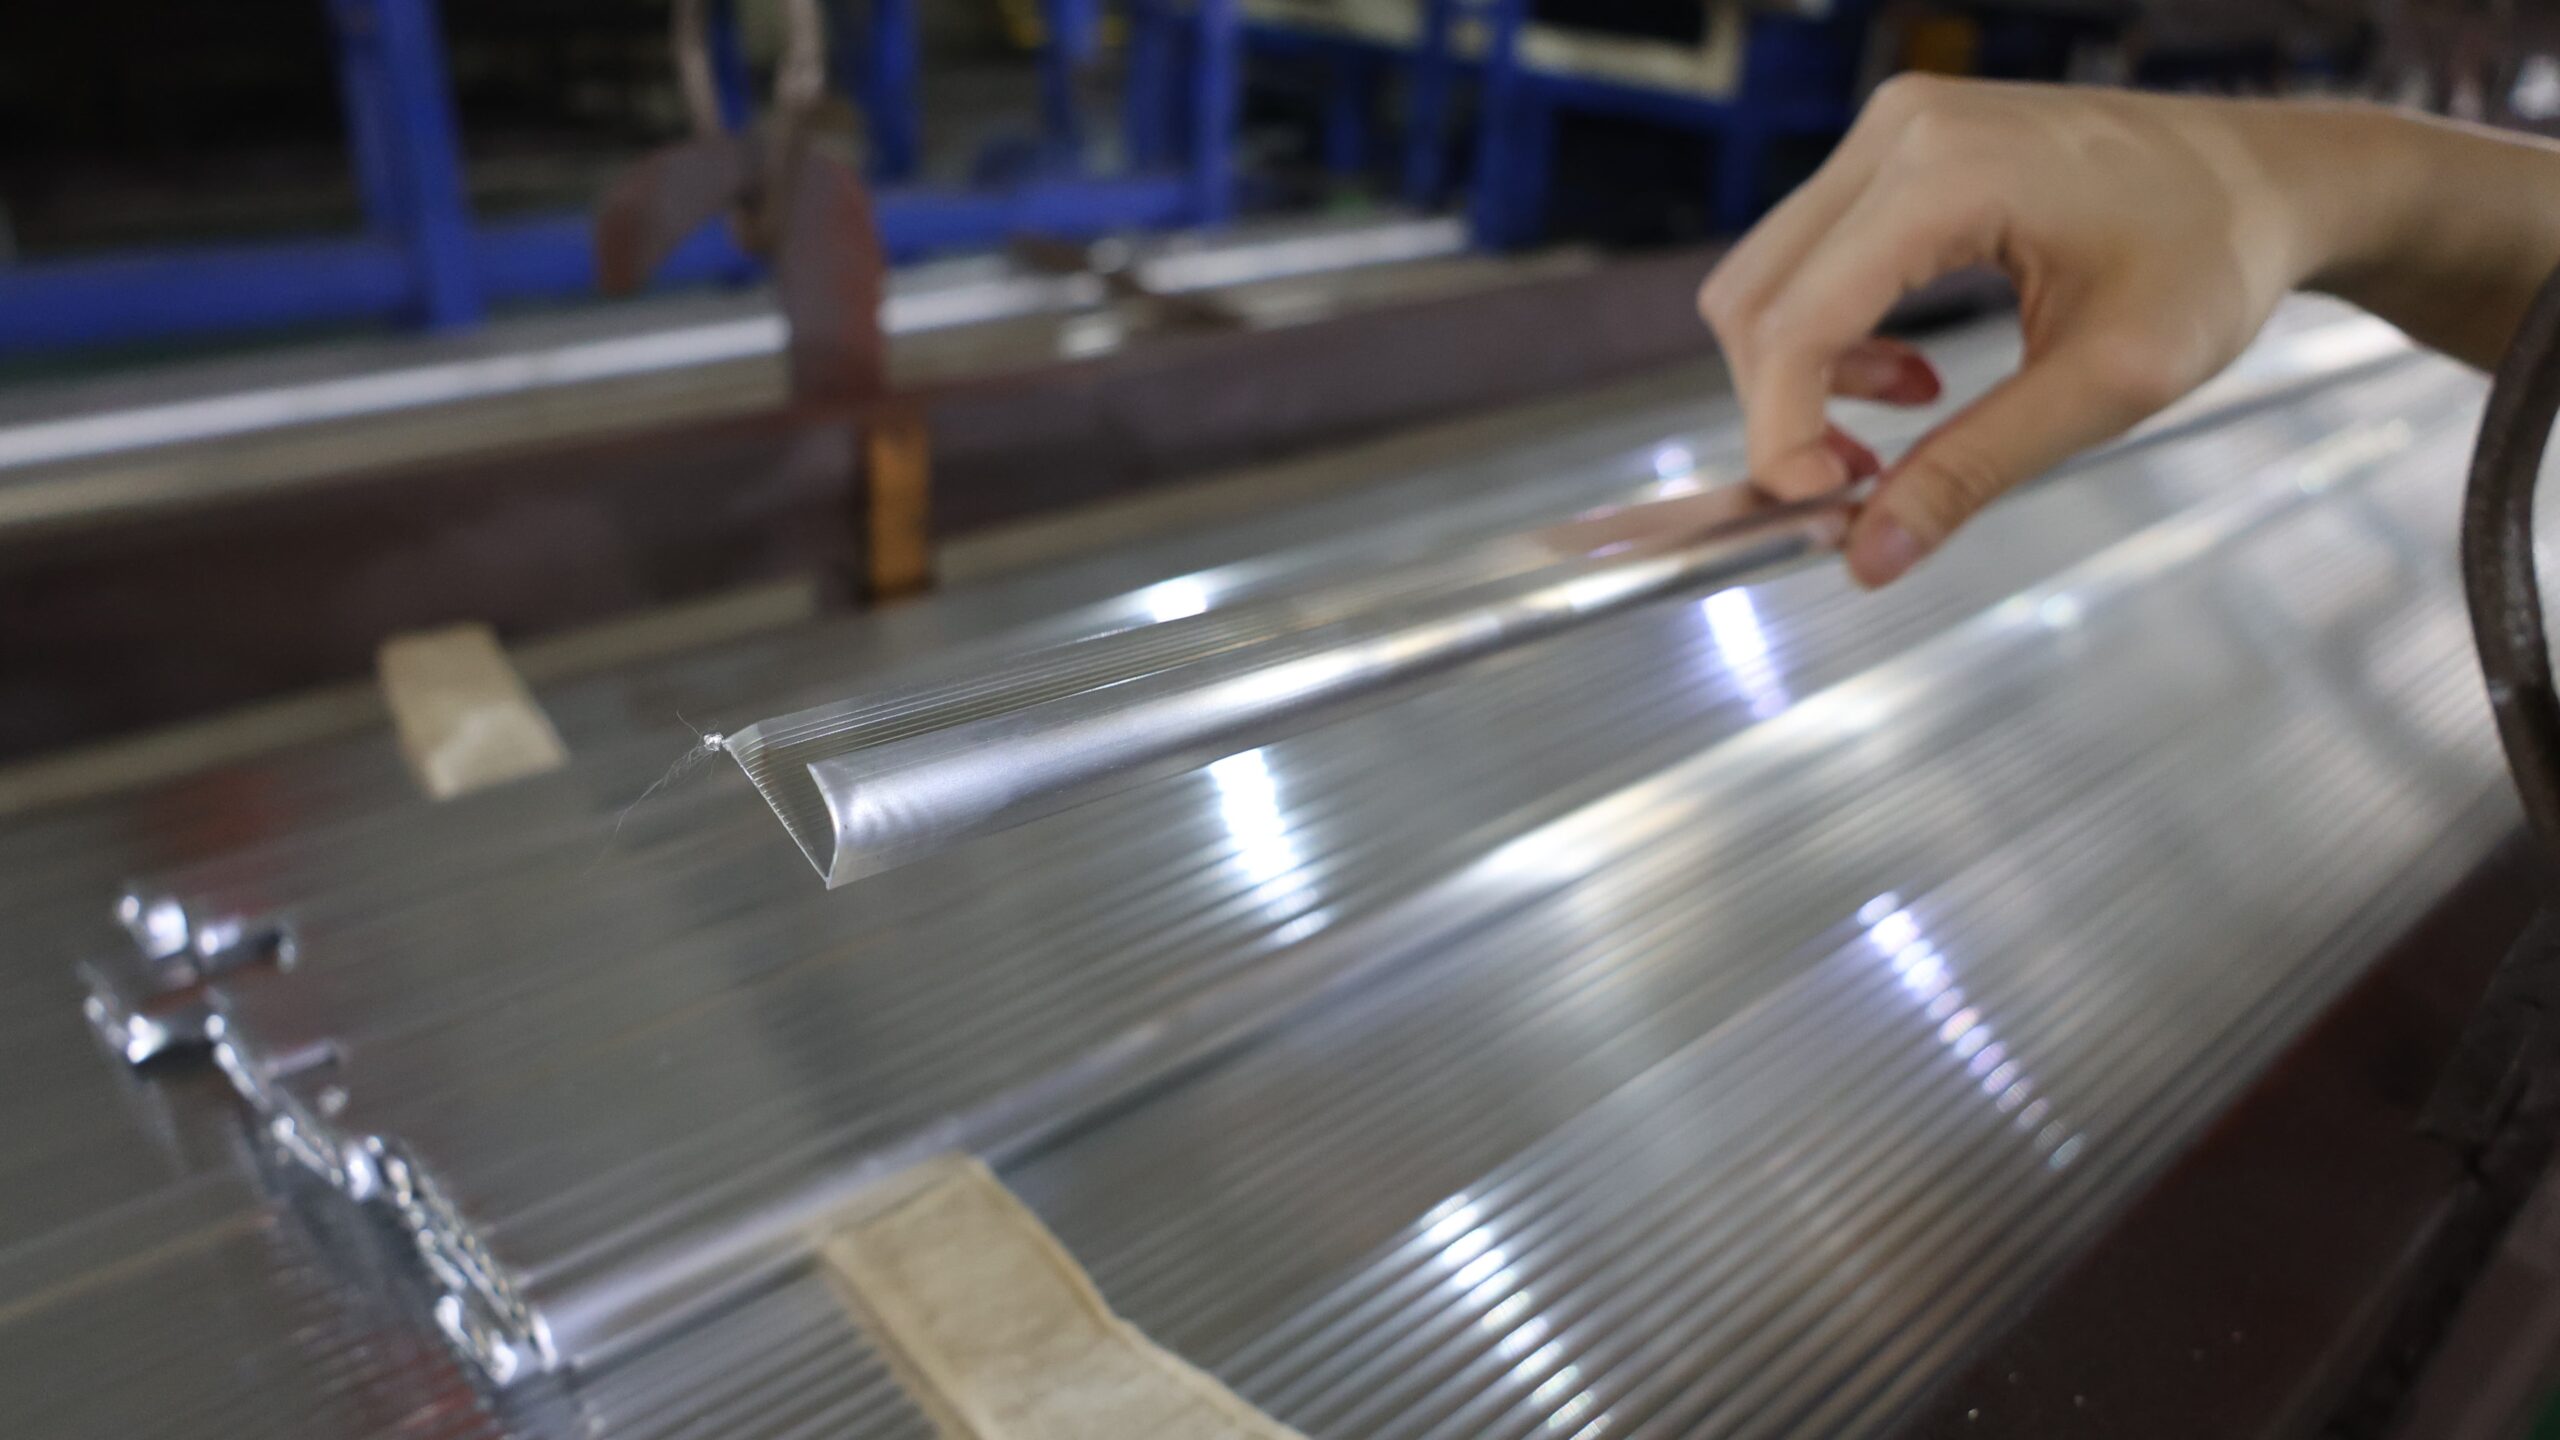
Strict Quality Control
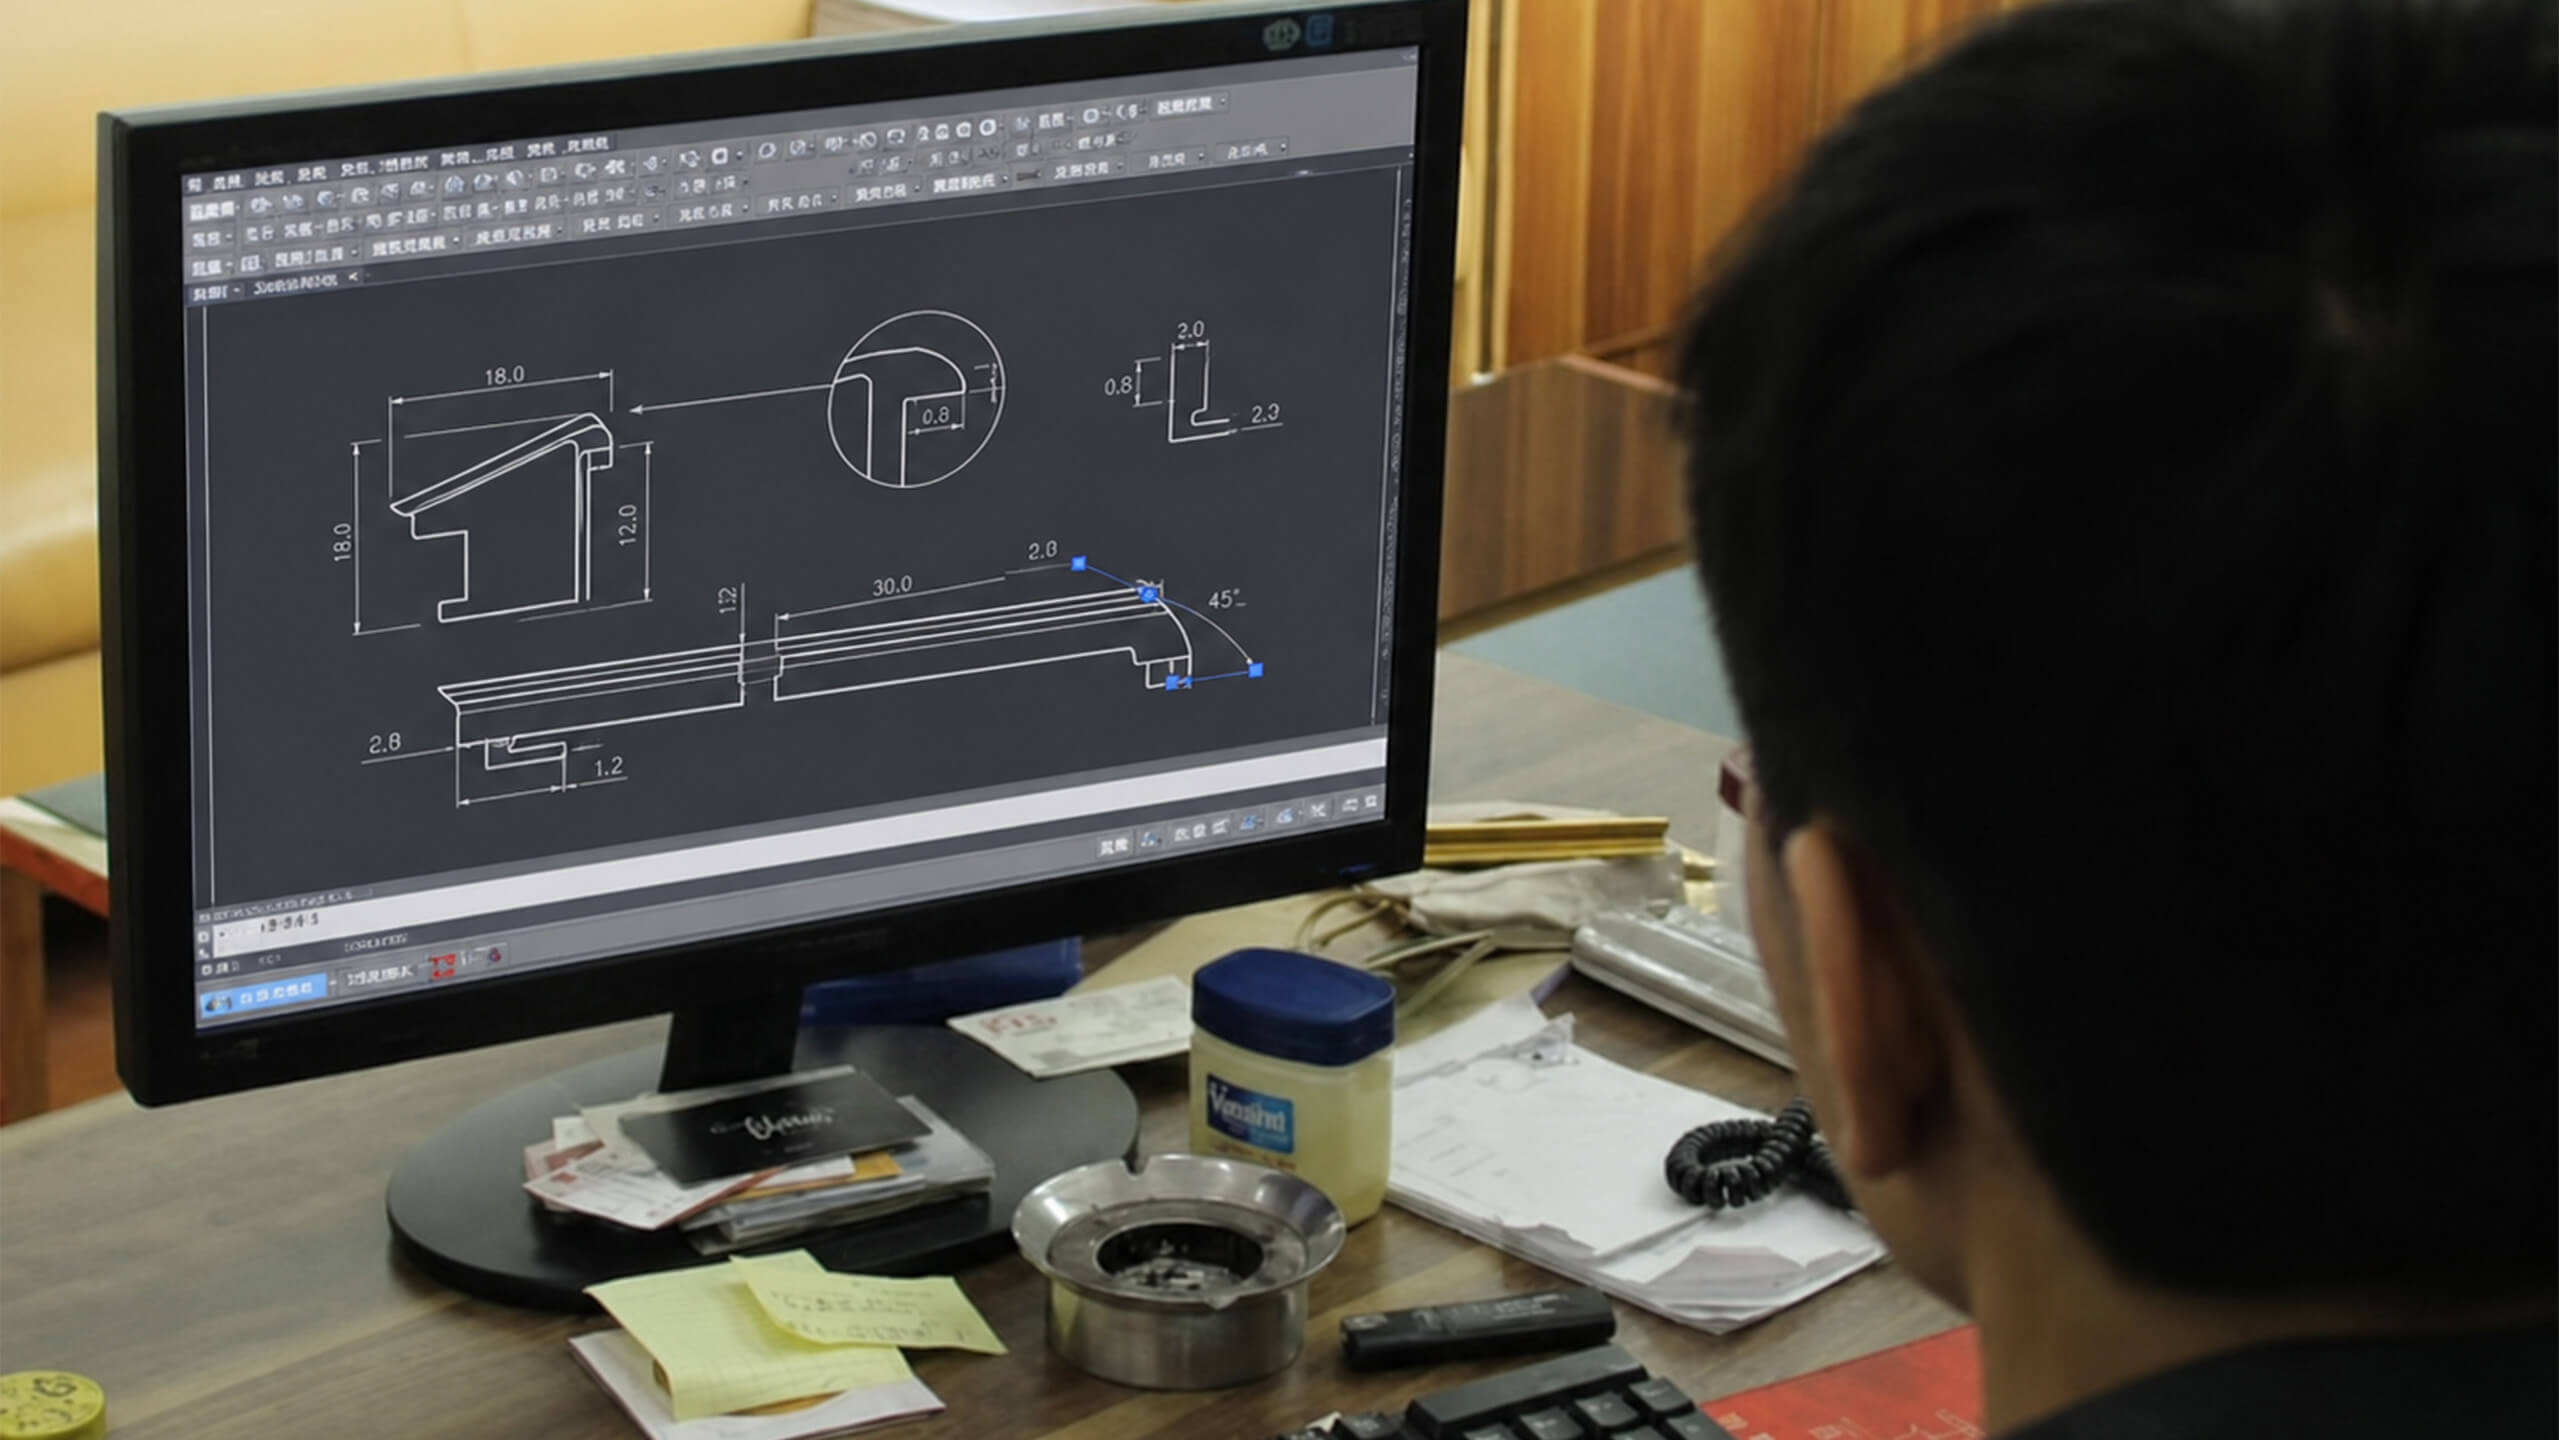
OEM & ODM Customization
OEM&ODM
Flexible production for distributors, contractors, and private-label programs.
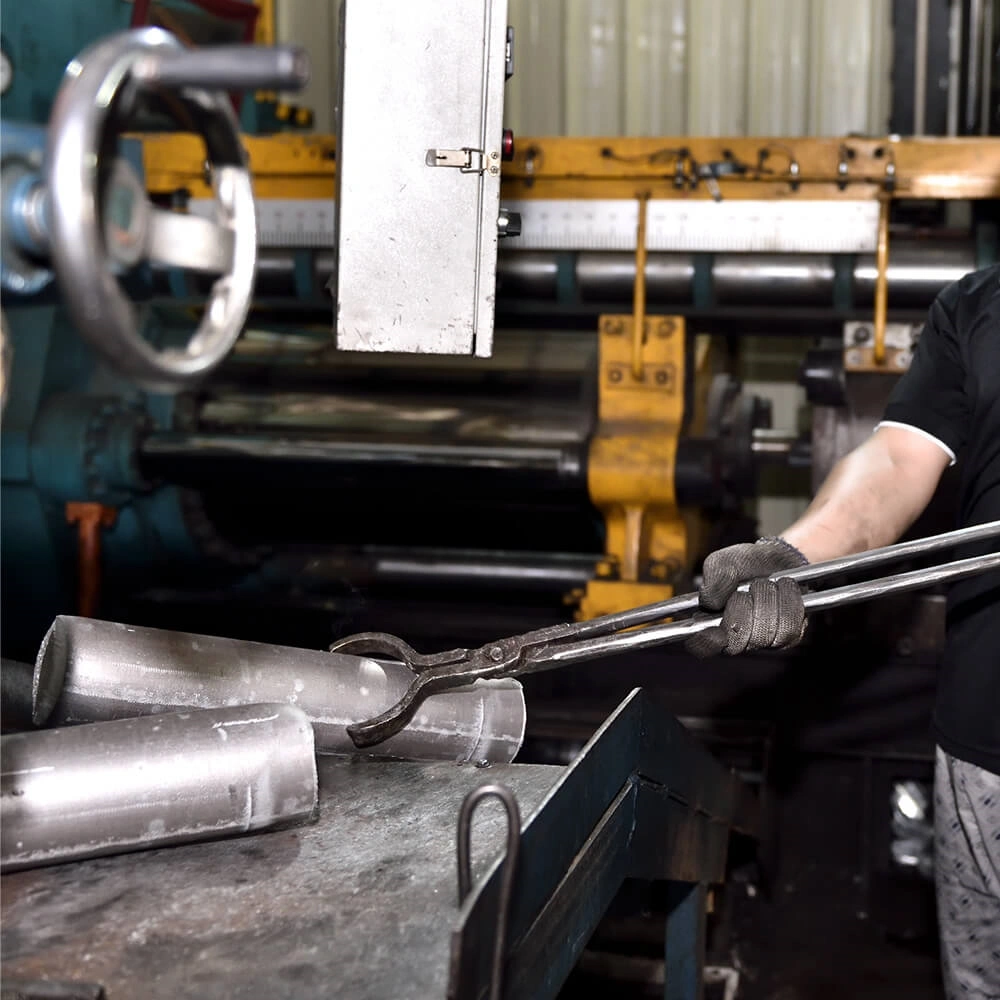
Precision extrusion & molds
3000+ extrusion dies support fast profile matching, new section development, and repeat production.
DWG→DIE→FIRST ARTICLE
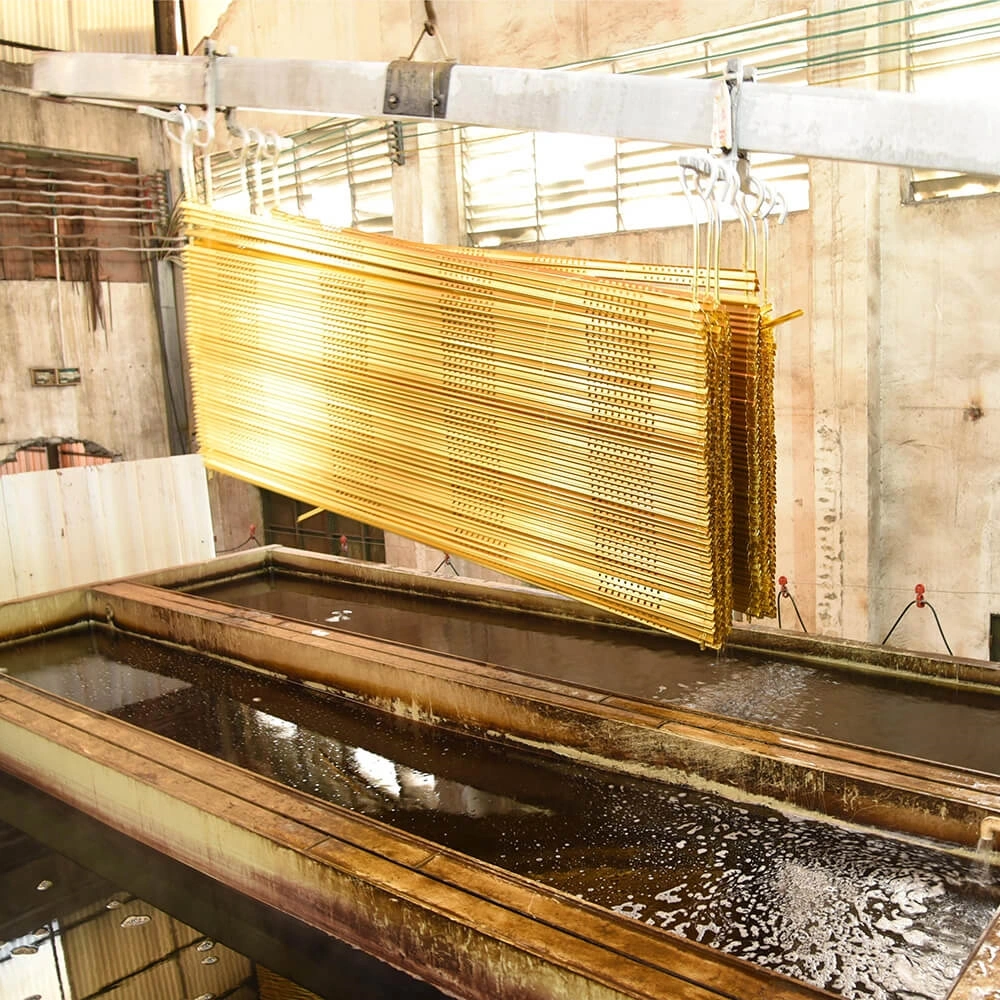
Batch-controlled finishes
Anodizing and powder-coating controls keep color and surface treament aligned across repeat shipments.
LAB SAMPLE→MASTER CHIP→BATCH
Punching, labeling & packing
Round, slot, or square mounting holes, branded protective film, and barcoded export cartons.
Q1: How to install metal trim on wood wall panels?
A: Start by measuring the edge of your paneling and cutting the metal trim to length using a hacksaw or metal-cutting miter saw. Apply a continuous bead of high-grab construction adhesive to the back inside channel of the trim. Press the trim firmly onto the raw edge of the wood panel. For a more secure hold, especially on thick or heavy panels, you can secure the trim’s nailing flange (if it has one) to the wall using brad nails before sliding the final wood panel into the channel.
Q2: What trim to use for bathroom pvc wall panels?
A: For bathroom PVC wall panels, you must use PVC or anodized aluminum trims that are entirely impervious to water and rust. The most essential profiles include an internal corner trim for inside walls, an external corner trim for jutting walls, an end cap (or J-trim) to finish raw edges, and a base seal trim to sit flush against the shower tray or bathtub to prevent water ingress.
Q3: How does a black j channel trim for acoustic wall panels work?
A: It acts as a sleek, low-profile frame that hides the raw, fibrous edges of sound-absorbing boards. The “J” shape allows the trim to be screwed directly into the drywall on the longer back leg, while the acoustic panel simply slides into the open channel. The black finish blends seamlessly with the dark backing felt common on acoustic panels, creating a shadow-line effect.
Q4: When is an 8mm silver metal wall panel dividing transition strip necessary?
A: An 8mm silver metal wall panel dividing transition strip (often shaped like an “H” or “T”) is necessary when joining two separate 8mm wall panels side-by-side. It creates a seamless, watertight joint between the panels, allows for natural expansion and contraction of the materials, and adds a sleek architectural detail to long, continuous feature walls.
Q5: What is the best way to use a decorative wood slat wall panel end cap trim?
A: It is used to finish the exposed side of a fluted or slatted acoustic wall. Because slatted panels have deep grooves, leaving the side exposed ruins the 3D illusion. The end cap trim features an overlapping lip that perfectly matches the veneer of the slats, closing off the side cavity and providing a solid, finished, floating appearance on the wall.
Need a Custom Profile?
Don’t see the exact dimension or finish your project requires?
We specialize in full OEM & ODM manufacturing. Submit your specifications or customization demand, let our in-house engineering team bring your exact blueprint to life.