Essential Tile Trim Tips for Perfect Edges and Aesthetics
Introduction
Everyone agrees that understanding tile trims is crucial for achieving a flawless finish in both residential and commercial tiling projects.
At Winsen Tile Trim, we commit to equipping our customers with the knowledge and materials necessary for impeccable tile installations.
This article will preview ten essential tile trim tips that reveal the features and designs of each option.
You'll learn what tile trims are, explore the variety of designs they come in, and understand the distinct features of five key tile trim tips.
Armed with this knowledge, you'll be able to select and apply tile trims that enhance both the durability and beauty of your tiling work.
We can also recommend some Best Price Square Edge Trim Factory.
7 Steps on How to Choose the Right Tile Decor
1.Define Your Style
Before you start browsing tile options, it's crucial to have a clear vision of the desired aesthetic for your space.
Whether you're aiming for a contemporary, traditional, or eclectic look, the style you choose will guide all subsequent decisions.
This step involves a thoughtful assessment of your personal tastes and the overall ambiance you wish to create.
Reflect on design magazines, Pinterest, or interior design websites to gather inspiration and solidify your style preferences.
2.Consider the Space
The functionality and conditions of the space play a pivotal role in tile selection:
Bathrooms: Due to high moisture levels, choosing waterproof and easy-to-clean tiles like ceramic or porcelain is essential for durability and hygiene.
Kitchens: Look for tiles that can withstand frequent spills and stains. Porcelain tiles are favored here for their resilience and ease of maintenance.
Living Areas: Aesthetic appeal combined with durability is key. Consider porcelain for high-traffic areas like entryways, or softer, warmer tiles in living rooms for comfort.
3.Choosing the Right Materials
Each material offers distinct advantages:
Ceramic: Widely available and versatile, ceramic tiles offer a cost-effective solution with a wide range of colors and patterns, suitable for most indoor environments.
Porcelain: Known for its density and resistance to moisture, porcelain is ideal for both indoor and outdoor use in high-traffic areas.
Natural Stone: Materials like marble, granite, and slate bring unique textures and luxe finishes but require more maintenance to preserve their natural beauty.
Glass: Perfect for creating a reflective and elegant appearance, glass tiles are commonly used for backsplashes and accent areas.
Aluminum: With excellent corrosion resistance and a modern look, aluminum tile trims are great for adding a polished finish to tile edges.
4.Select Colors and Patterns
The choice of colors and patterns significantly affects the room's atmosphere:
Colors: Light colors can make small rooms feel larger and brighter, while dark hues add sophistication and warmth.
Patterns: Patterns such as herringbone or geometric add dynamic visual interest and can define the character of a room. The alignment and layout of tiles can also influence perceived space dimensions and flow.
5.Consider Size and Shape
The dimensions and form factor of tiles can transform a space:
Large Tiles: Typically used in spacious areas, large tiles provide a clean, modern look with fewer grout lines, thereby creating a visually larger space.
Small Mosaics: These are excellent for detailed decorative work like backsplashes, offering intricate beauty and style.
Rectangular and Unique Shapes: Traditional rectangular tiles offer timeless appeal, whereas unique shapes such as hexagons or fish scales introduce a modern and bespoke element to your design.
6.Consider Maintenance
Maintenance considerations are crucial for ensuring the longevity and appearance of your tiles:
Ceramic and Porcelain: These are among the easiest to maintain, needing only regular cleaning without special treatments.
Natural Stone: Requires more care, including periodic sealing to prevent stains and damage.
Glass: Although easy to wipe down, it can show smudges and water spots more readily, requiring frequent cleaning to maintain its sparkle.
7.Visualize the End Result
Leveraging technology can greatly assist in your decision-making process:
Utilize virtual room visualizers offered by many tile manufacturers to see how your choices will look in a simulated environment.
Request samples of your chosen tiles to place in the actual installation area, observing how they respond to the natural lighting and surroundings of your space.
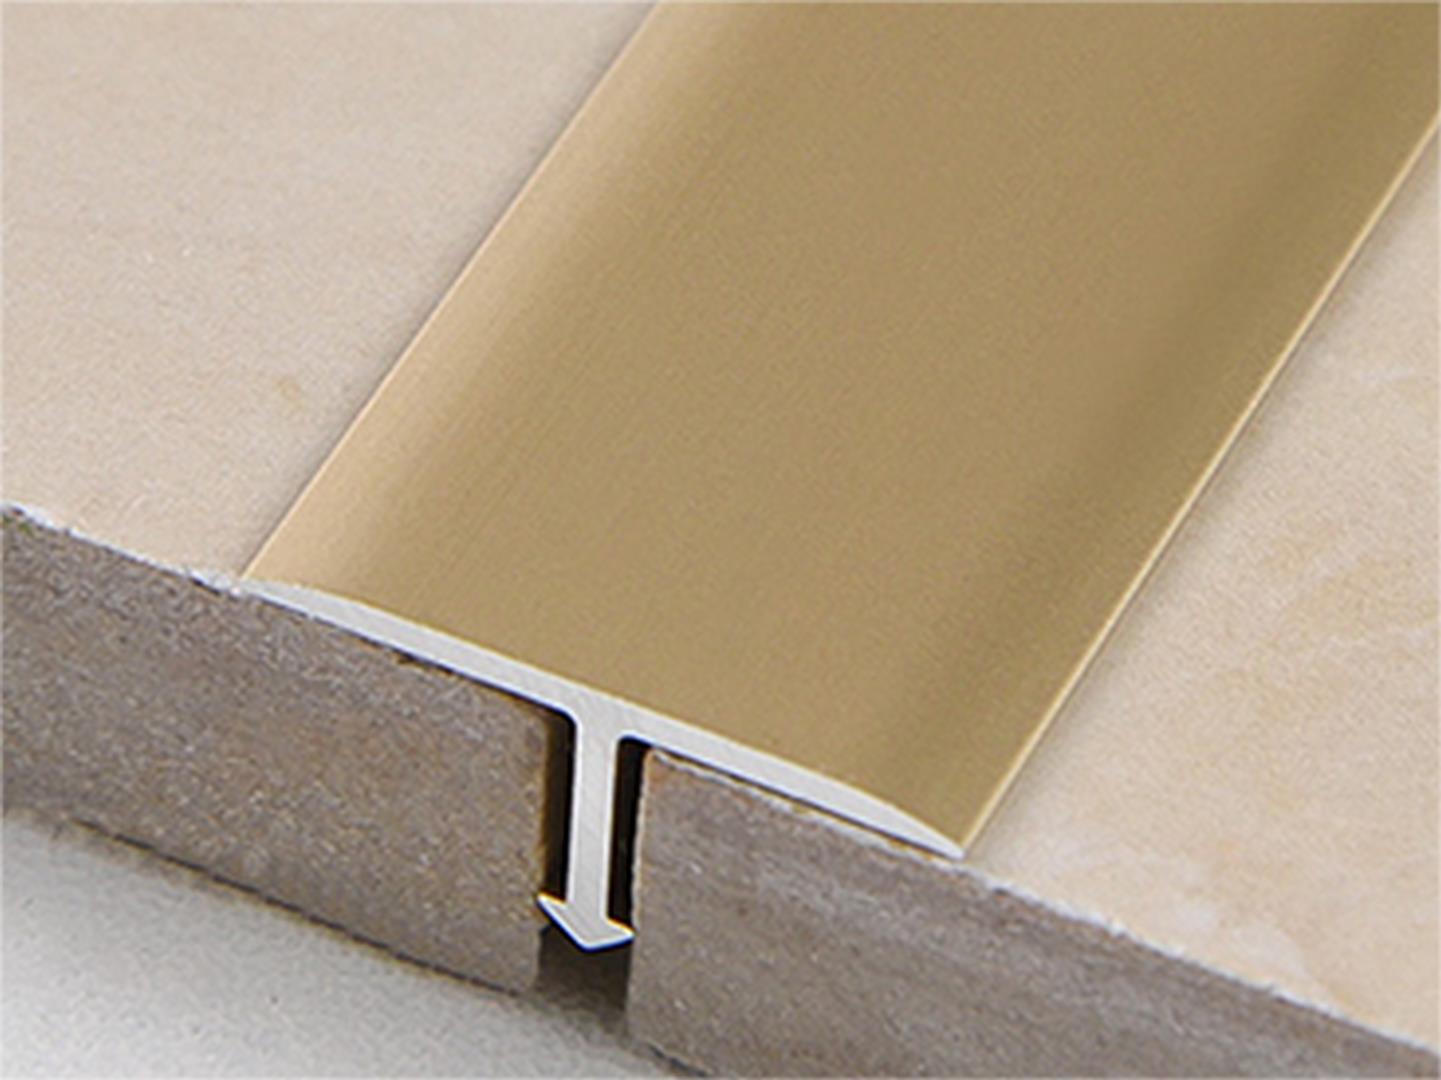
What is the Best Way to Finish a Tile Edge?
Finishing tile edges properly is crucial not only for the aesthetic of your space but also to ensure the durability and safety of the tile installation.
Here are some effective methods to achieve a polished look:
Rounded Corner Tiles
Source: Tile manufacturers who specialize in ceramic and porcelain products.
Purpose: To provide a smooth transition between tiled surfaces and adjacent areas, minimizing sharp corners.
Merit: Rounded corner tiles are designed to create a seamless look that complements both contemporary and traditional styles.
They enhance safety by eliminating sharp edges, making them ideal for households with children.
Metal Edging Profiles
Source: Manufacturers specializing in metal finishes like aluminum and stainless steel.
Purpose: To protect tile edges from chipping and wear while adding a sleek, decorative touch.
Merit: Metal edging profiles offer robust protection and a modern look.
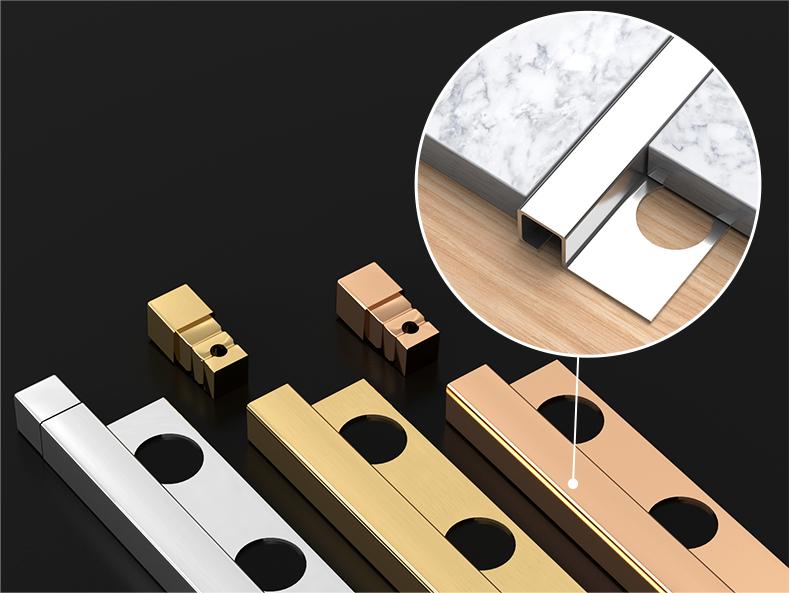
They come in various shapes such as L-shaped, round, and square, allowing for versatility in design. Metal finishes can also accentuate the aesthetic of the tile and room.
Tile Trim Profiles
Source: Companies producing finishing accessories in PVC, aluminum, and stainless steel.
Purpose: To cleanly finish off tile edges and corners, ensuring a professional outcome.
Merit: Tile trim profiles are extremely adaptable and come in an array of colors and finishes.
Whether the project calls for a subtle complement to the existing tiles or a bold contrast, these profiles can meet a wide range of design needs.
They are also suitable for both straight and curved edges.
Wood or PVC Molding
Source: Traditional woodworking and modern synthetic materials.
Purpose: To offer a decorative and customizable option for tile edge finishing, especially in settings that call for a classic or rustic ambiance.
Merit: Wood and PVC moldings can be painted or stained to match any decor, providing a unique and tailored finish.
It is vital to seal these materials adequately in moisture-prone areas to prevent damage and decay.
Grout or Caulk
Source: Tile installation and maintenance supplies.
Purpose: To fill in and smooth out the transition between tile and adjacent surfaces, particularly for smaller tiles or irregular edges.
Merit: Using grout or caulk is a cost-effective and straightforward method for achieving a clean finish, especially useful in complex areas where tiles meet at different angles or irregular patterns.
Custom Edge Creation
Source: Skilled tile artisans and advanced tile fabrication tools.
Purpose: To allow for a high level of customization in tile finishes, tailored to the specific design requirements of a space.
Merit: This method provides the ultimate flexibility in design, enabling the creation of unique profiles that are perfectly integrated with the overall design scheme.
Although it requires more expertise and equipment, the results can be significantly superior and highly personalized.
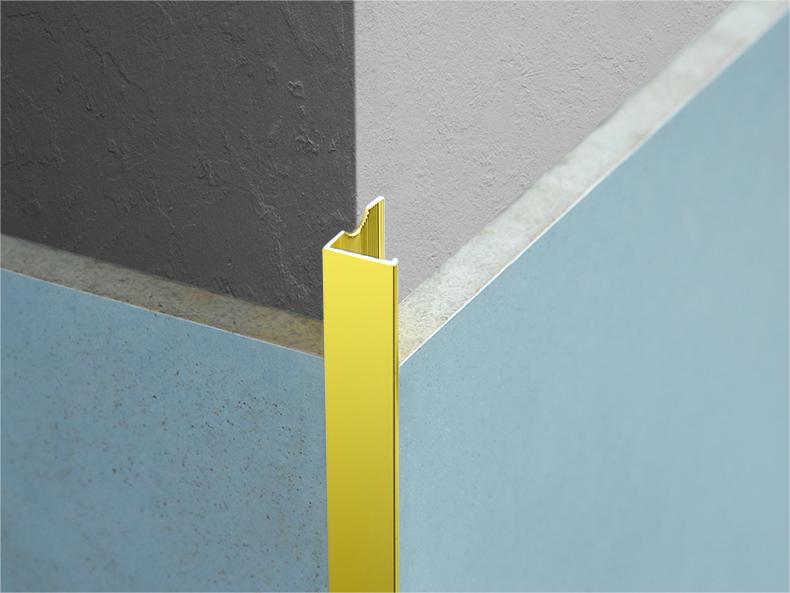
How to Select, Cut, and Install Tile Trim
Selecting, cutting, and installing tile trim are crucial steps in achieving a professional finish in tile installations. Here’s a detailed guide on each step:
1.Select Tile Trim
Material: Choose a trim material that complements the tile both in style and functionality.
Options include aluminum, stainless steel, PVC, or matching ceramic/porcelain, each offering different aesthetic and durability characteristics.
Contour: Decide on the contour of the trim, such as L-shaped, round, or square, based on the design needs and the type of edge you aim to achieve.
This choice affects how the tile edges will interface with the room aesthetics.
Size: The size of the trim should correspond to the thickness of your tiles.
Common trim sizes range from 8 mm to 12 mm, but larger sizes may be necessary depending on the tile thickness and the intended effect.
Color/Finish: Select a color or finish that matches or complements your tiles and overall design theme.
This is important for ensuring that the trims blend seamlessly with the rest of your installation.
2.Cutting Tile Trim
Tools Required: Depending on the material, use a hacksaw for metal trims, a miter saw for precise angular cuts, or a tile trim cutter specifically designed for tougher materials like aluminum.
Measurement: Measure the required length of trim meticulously, considering any overlaps or cuts needed for corners (mitered joints).
Cutting: Mark your measurements on the trim. Using the appropriate tool, execute the cut ensuring it is straight and clean to maintain a professional look.
3.Prepare Tile Surface
Clean Surface: Ensure the area where the trim will be installed is thoroughly clean and free from any dust or debris, which could affect adhesion.
Dry Fit: Temporarily place the trim without adhesive to check the fit and make any necessary adjustments.
This step can prevent mistakes before the final installation.
4.Install Tile Trim
Adhesive Application: Use a serrated trowel to apply tile adhesive or thin-set mortar to the back of the tile trim.
Ensure you use the right type of adhesive that matches the material of your trim and tiles.
Positioning: Press the trim firmly into place along the tile edges, making sure it is perfectly aligned and level.
Fixing: Apply consistent pressure along the trim to secure it into the adhesive.
Remove any excess adhesive that might squeeze out to prevent uneven surfaces and ensure clean lines.
Spacing: Keep a consistent gap between the trim and the tiles to maintain uniformity across the installation.
Caulking (optional): Once the adhesive is fully cured, consider applying silicone caulk along the edges of the trim to seal any gaps, providing additional protection against moisture and debris.
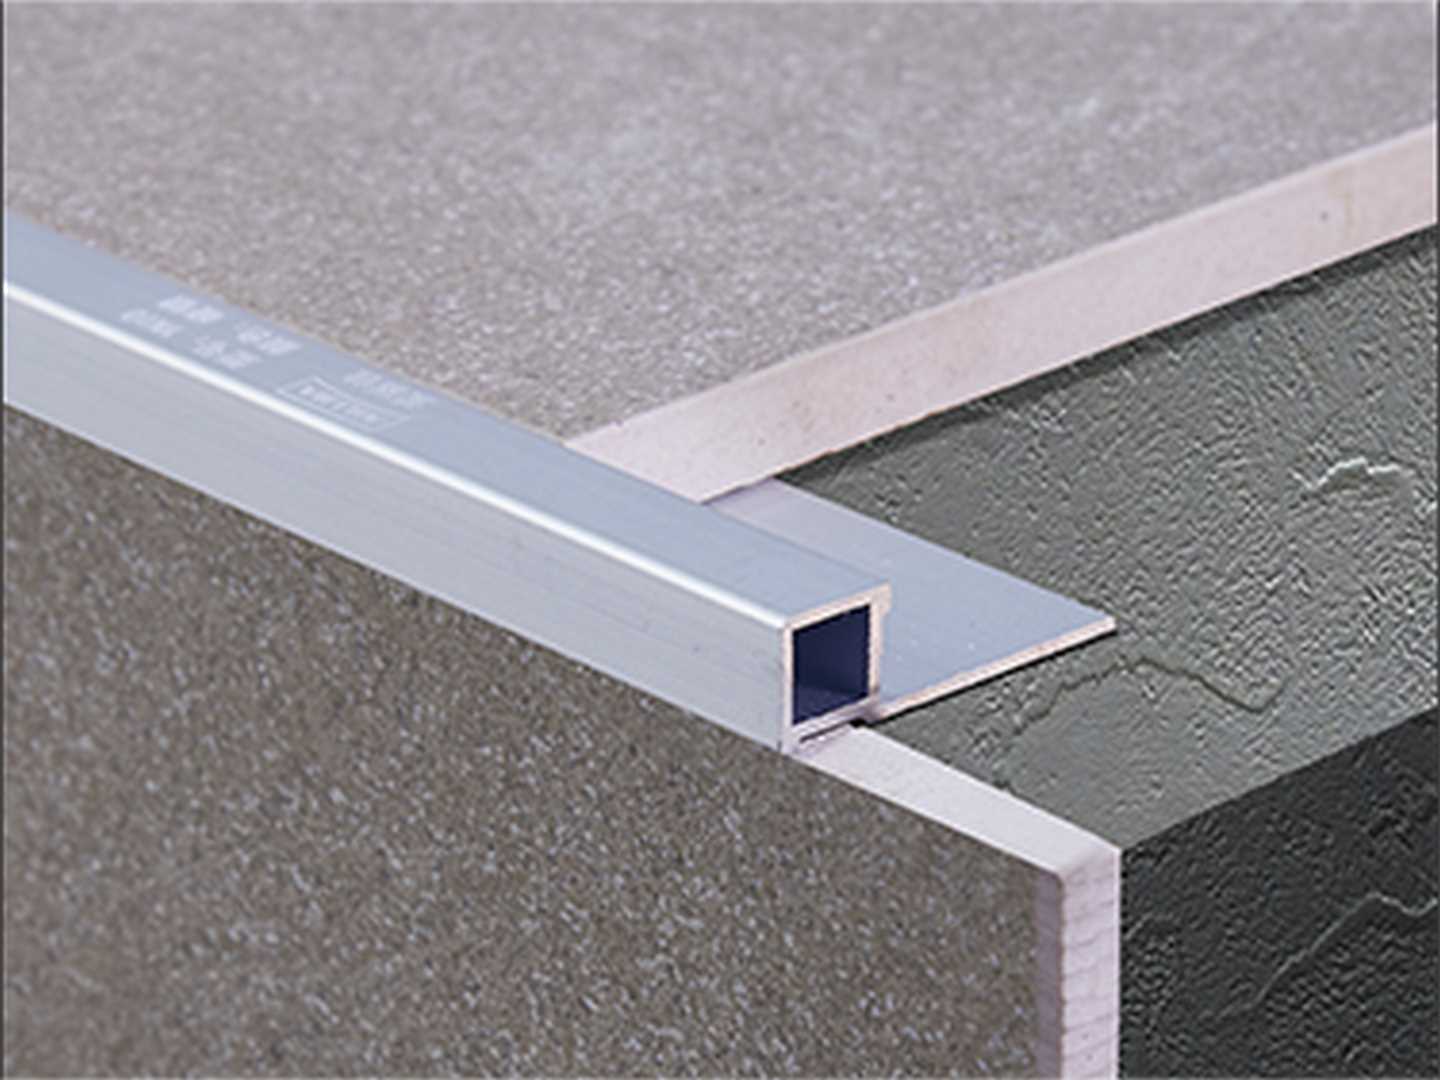
Does Tile Edge Need Trim?
Tile trim is not just a decorative element but also plays a crucial role in the longevity and functionality of tile installations.
Understanding when and why tile trim is necessary can help you make informed decisions about your tiling project.
Typically When Using Tile Trim:
1.Exposed Tile Edges:
Context: Tile edges that are exposed, such as those along the edge of a countertop, the perimeter of a tiled wall, or transitions between different surfaces, require finishing to achieve a clean look.
Purpose: Tile trim is used to provide a neat, polished appearance, preventing the unfinished edges from being visible.
Function: It also protects these exposed edges from wear and tear, which is particularly important in areas with high foot traffic or frequent use.
2.Protecting Edges:
Context: In high-traffic areas, like kitchen floors or commercial spaces, tile edges are susceptible to damage.
Purpose: Tile trim acts as a barrier, protecting the tile edges from chipping and wear, thereby extending the life of the installation.
3.Aesthetic Enhancement:
Context: Transitions between different materials can often appear abrupt or unfinished.
Purpose: Tile trim can smooth these transitions, adding a visual element that enhances the overall design of the space. It can effectively tie together the look of the tile with other elements in the room.
4.Covering Tile Edges:
Context: Tiles that have been cut irregularly or have rough edges are challenging to finish neatly with grout alone.
Purpose: Tile trim can cover these imperfect edges, ensuring that the finish looks intentional and professionally done.
When Tile Trim Is Not Required:
5.Hidden Edges:
Context: If the tile edges are not visible, such as where tiles meet the edges of a shower base or are tucked under cabinetry, the aesthetic and protective benefits of trim are unnecessary.
Function: Hidden edges naturally do not require the additional finishing that trim provides.
6.Seamless Transitions:
Context: In some designs, tiles are installed to match seamlessly with other surface materials without any exposed edges.
Preference: Depending on the design intent, this method can offer a sleek, clean look without the need for additional trim.
7.Design Preference:
Context: Modern and minimalist designs sometimes feature intentionally exposed tile edges.
Aesthetic: In such cases, the stark, untrimmed edges may contribute to a contemporary, streamlined aesthetic, aligning with the overall design theme.
8.Alternative Edge Finishes:
Rounded Corner Tiles: These are a great alternative to traditional tile trims, offering a way to integrate a finished edge within the tile itself, particularly useful in curved areas.
Metal Cladding: For a more industrial look, metal cladding can be used to encase tile edges, providing a distinct and durable finish.
Custom Edging: Advanced cutting techniques performed by skilled artisans can create a unique, polished edge without the need for standard trim, suitable for bespoke tile installations.
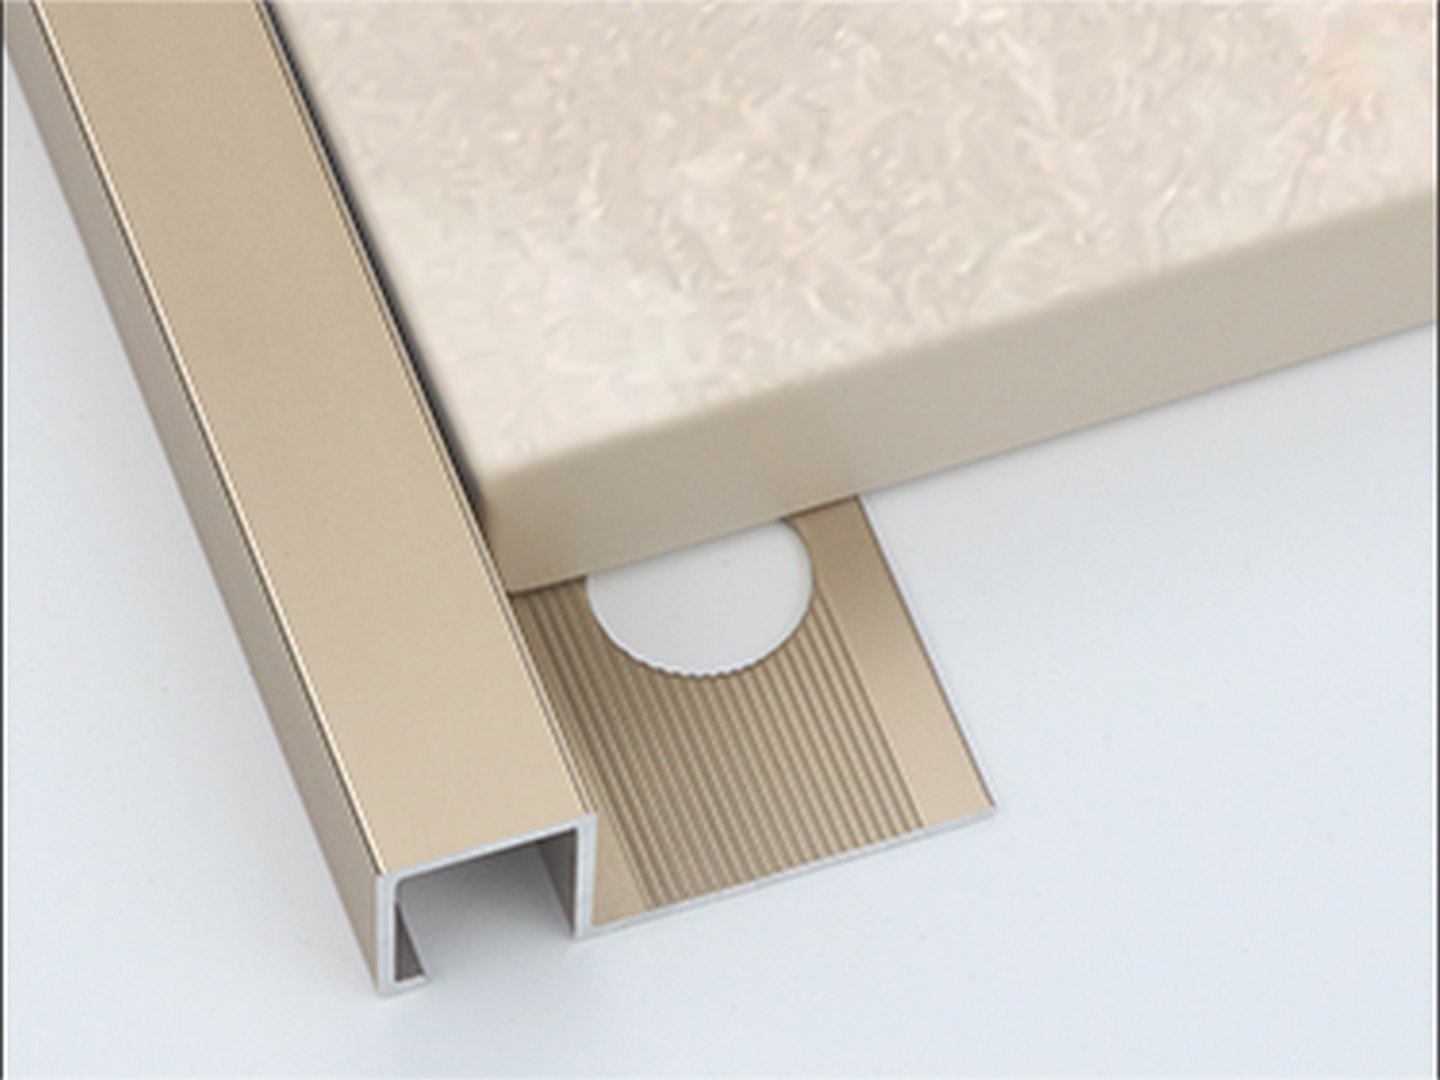
How to Hide Bad Tile Edges
When dealing with imperfect or unsightly tile edges, there are various solutions to effectively conceal these flaws, enhancing both the functionality and aesthetics of your tile installation.
Here’s how you can address and hide bad tile edges:
1.Use of Tile Trim for Exposed Edges:
Context: In situations where tile edges are prominently exposed, such as at the edge of a countertop or the perimeter of a wall.
Solution: Tile trim can be applied to give these edges a neat, finished appearance, effectively concealing any irregularities or damage. This method is ideal for creating a clean transition between different materials, such as between ceramic tiles and drywall.
Benefit: Besides improving appearance, trim also provides physical protection to the edges, reducing the likelihood of further chipping and wear.
2.Edge Protection with Tile Trim:
Context: Areas subjected to frequent use or heavy traffic, like floors or kitchen counters.
Solution: Installing durable tile trim around the edges can shield the fragile tile borders from being damaged by impacts or constant use.
Benefit: This approach not only hides existing edge imperfections but also fortifies the edges against future damage.
3.Aesthetic Enhancement Through Tile Trim:
Context: Installations requiring a visually cohesive or luxurious finish.
Solution: Choosing the right style and color of tile trim can dramatically enhance the overall look of a tile installation, blending seamlessly with the surrounding tiles while covering any unsightly edges.
Benefit: Tile trim can elevate the aesthetic appeal of the entire area, adding value to the installation.
4.Covering Irregular and Damaged Tile Edges:
Context: Tiles that have been poorly cut or those that have suffered edge damage after installation.
Solution: Tile trims are perfect for covering these defects, especially in areas where using grout alone might not achieve a clean finish.
Benefit: The trim covers any rough or uneven edges, giving a uniform and pristine appearance to the tiled area.
When Tile Trim Is Not Required:
1.Hidden Edges:
Context: If the edges of the tiles are not visible or are covered by other materials, such as under cabinets or where tiles meet fixtures.
Consideration: Here, the focus can be on other aspects of installation without the need for trim, simplifying the project and reducing costs.
2.Seamless Transitions:
Context: Designs that favor a smooth transition without visible dividing lines between surfaces.
Consideration: You might opt out of using trims for a more streamlined, modern look where the continuation of the surface is visually preferred.
3.Design Preference:
Context: Some contemporary designs incorporate exposed tile edges deliberately for a minimalist aesthetic.
Consideration: In these cases, the choice to leave edges untrimmed is intentional to align with the overall design philosophy.
Alternative Edge Finishes:
Rounded Corner Tiles: These are specially designed to eliminate the need for additional trim pieces, offering a clean and continuous line.
Metal Cladding: Employing metal cladding in specific areas can provide a distinct, clean look with added durability.
Custom Edges: Tailoring the edges of your tiles through custom cutting and finishing can create a high-end, bespoke appearance without the need for standard trims.
Conclusion
In summary, the five tile trim tips provided address key aspects of tile installation, enhancing both the aesthetic appeal and functionality of tiled spaces.
By using tile trims, you can achieve a clean, finished look for exposed edges, protect fragile tile borders in high-traffic areas, and ensure a visually appealing transition between different materials.
For installations that involve irregular or damaged tile edges, tile trim offers a practical solution to cover imperfections and prevent further damage.
Alternatives like rounded corner tiles, metal cladding, and custom edging techniques allow for tailored finishes that complement any design style.
These solutions not only resolve common tiling challenges but also elevate the overall quality and durability of the installation, proving invaluable for both residential and commercial projects.
Welcome to know more detailed information about products in WINSEN:
